Truck Facts
Carter YF Carburetor Rebuild
The rebuild of a Carter YF carburetor is actually fairly straightforward. I have the manual available for you and have provided some photos from my own rebuild along with a few tips below. Also, there is a great section on the Carter YF carburetor within the Truck Service Manual itself, in the Fuel System section. Between the two, you have the service tear-down and all of the specifications you need to rebuild and tune your carburetor.
 The Carter carburetor for an International Harvester Model R-112 Series is a Carter YF-735-S, or specifically a Carter YF Model 735A. The 735A is the number you will need when ordering a rebuild kit. I ordered my rebuild kit from The Carburetor Shop, LLC out of Eldon, Missouri. The rebuild kit number is 1574 and the cost was $65. It is a very complete kit and in discussions with personnel at the Carburetor Shop, they had ready answers and knew what they were talking about as you'll see in a little bit.
You can click on any of the photos below to view a high-resolution version - I found the high-resolution photos VERY helpful when putting the carburetor back together!
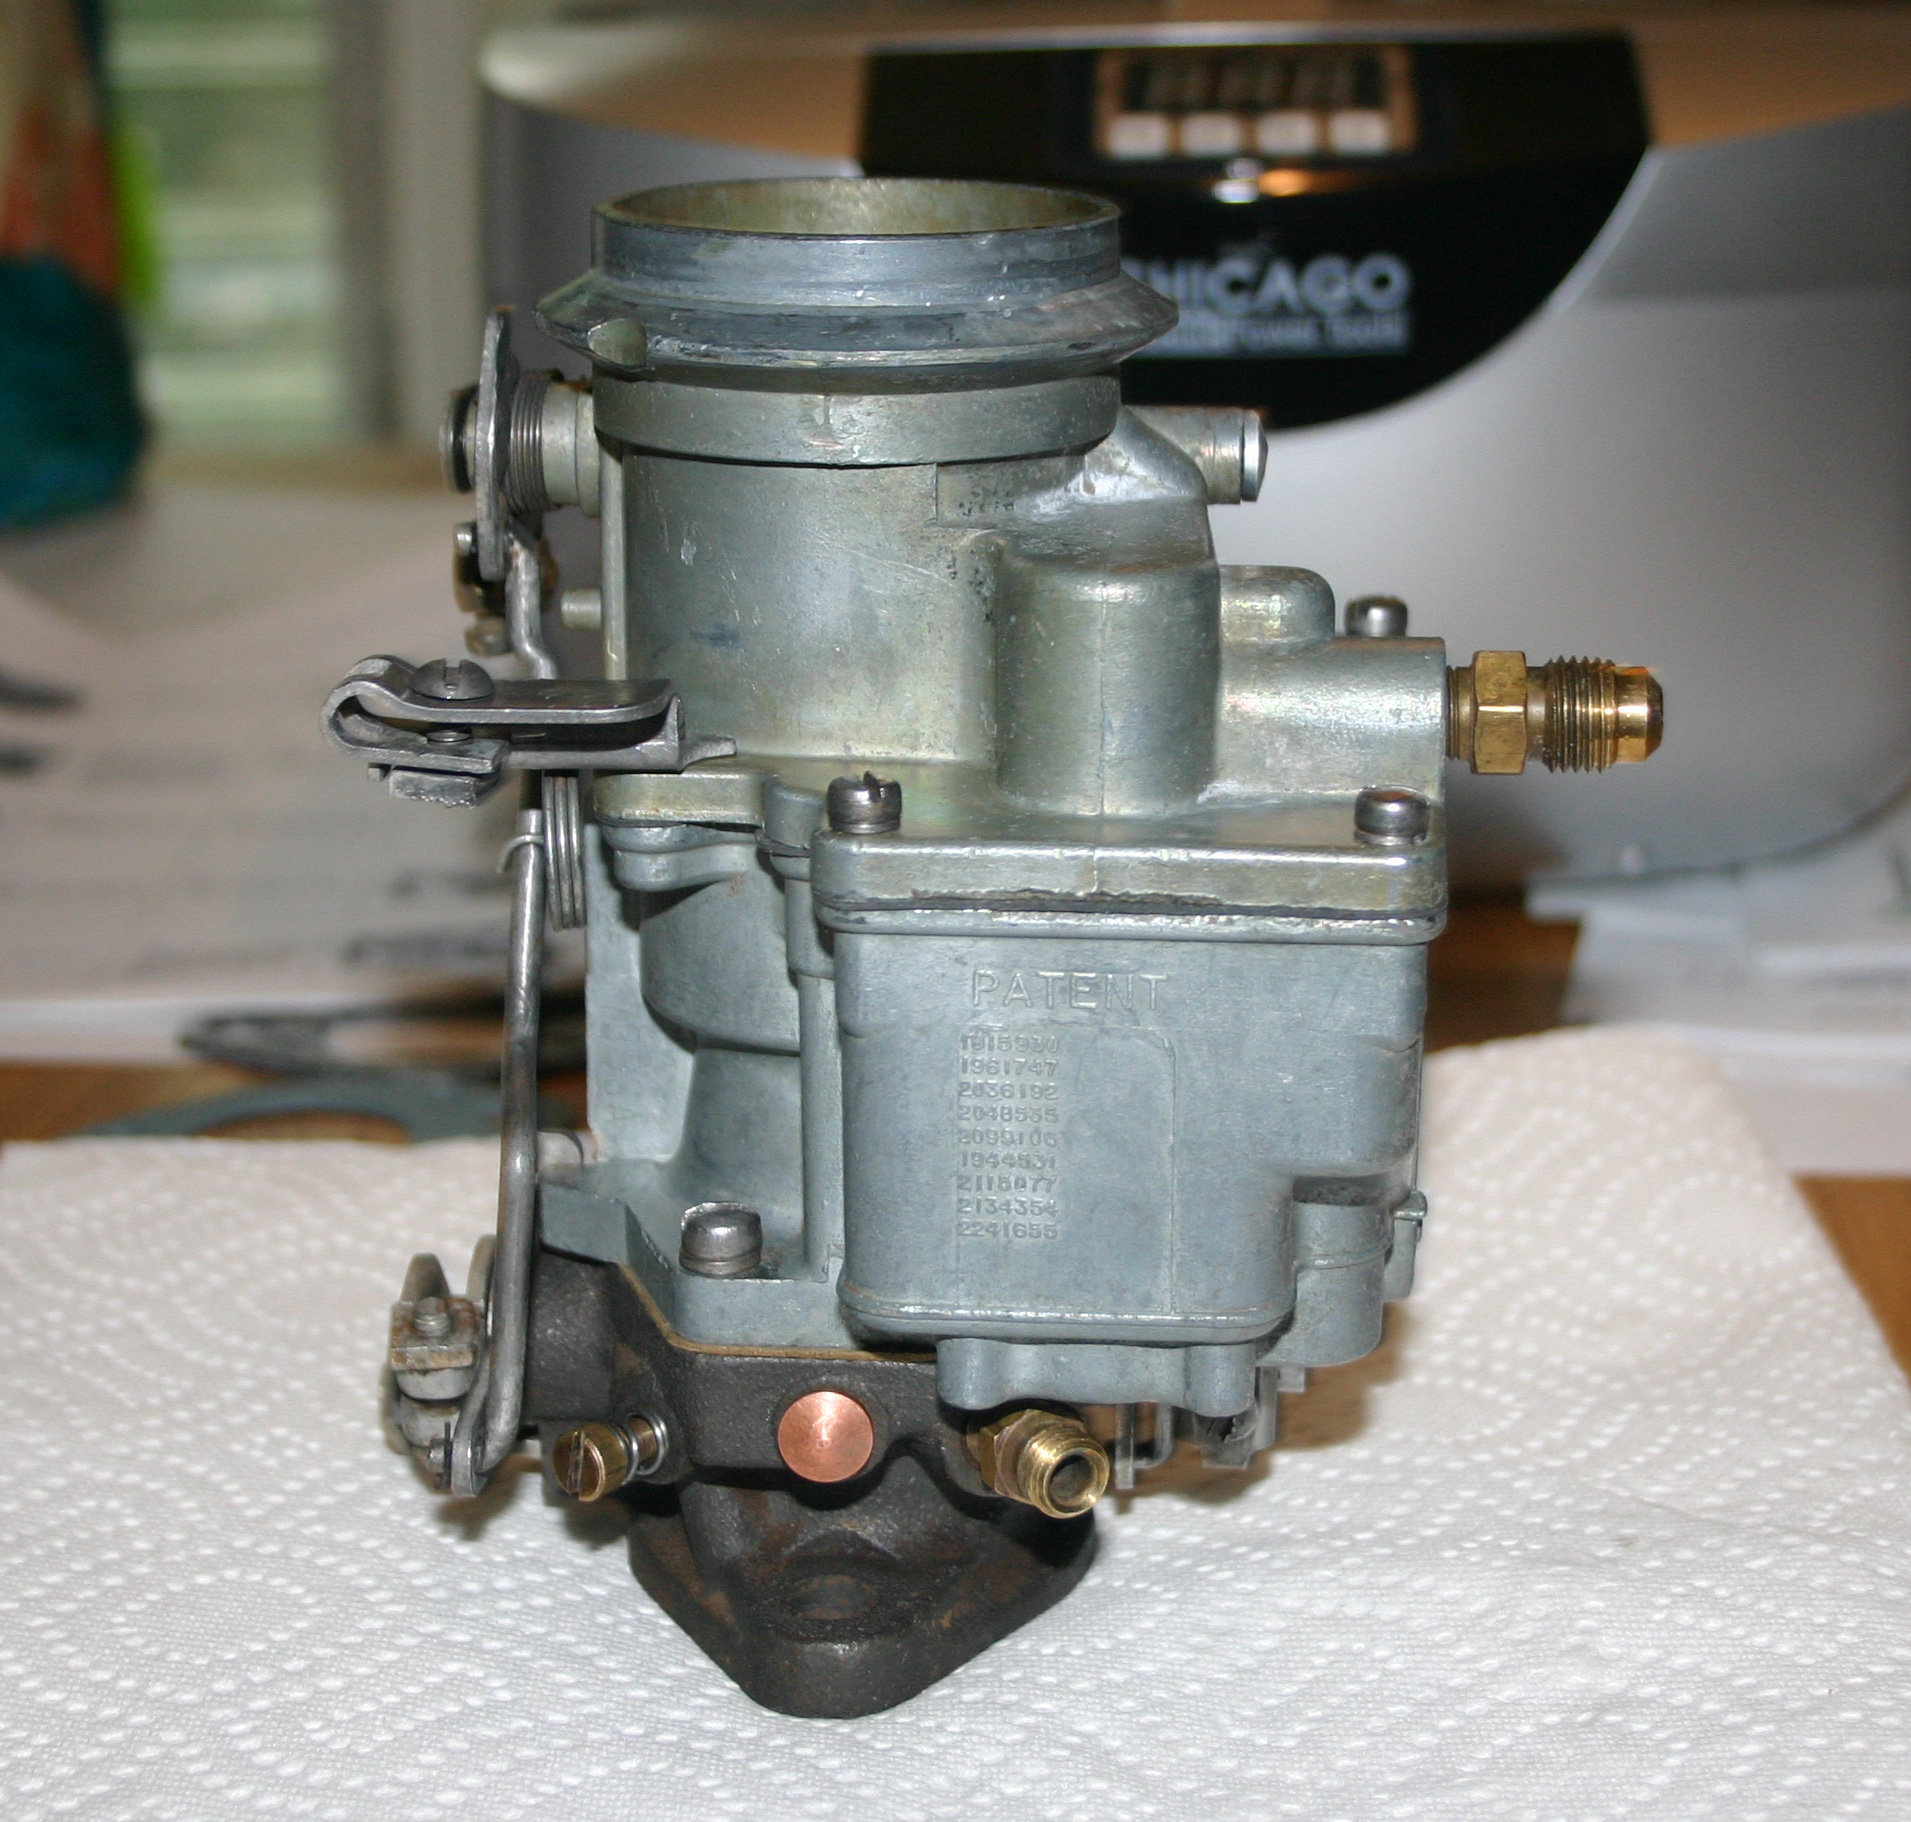
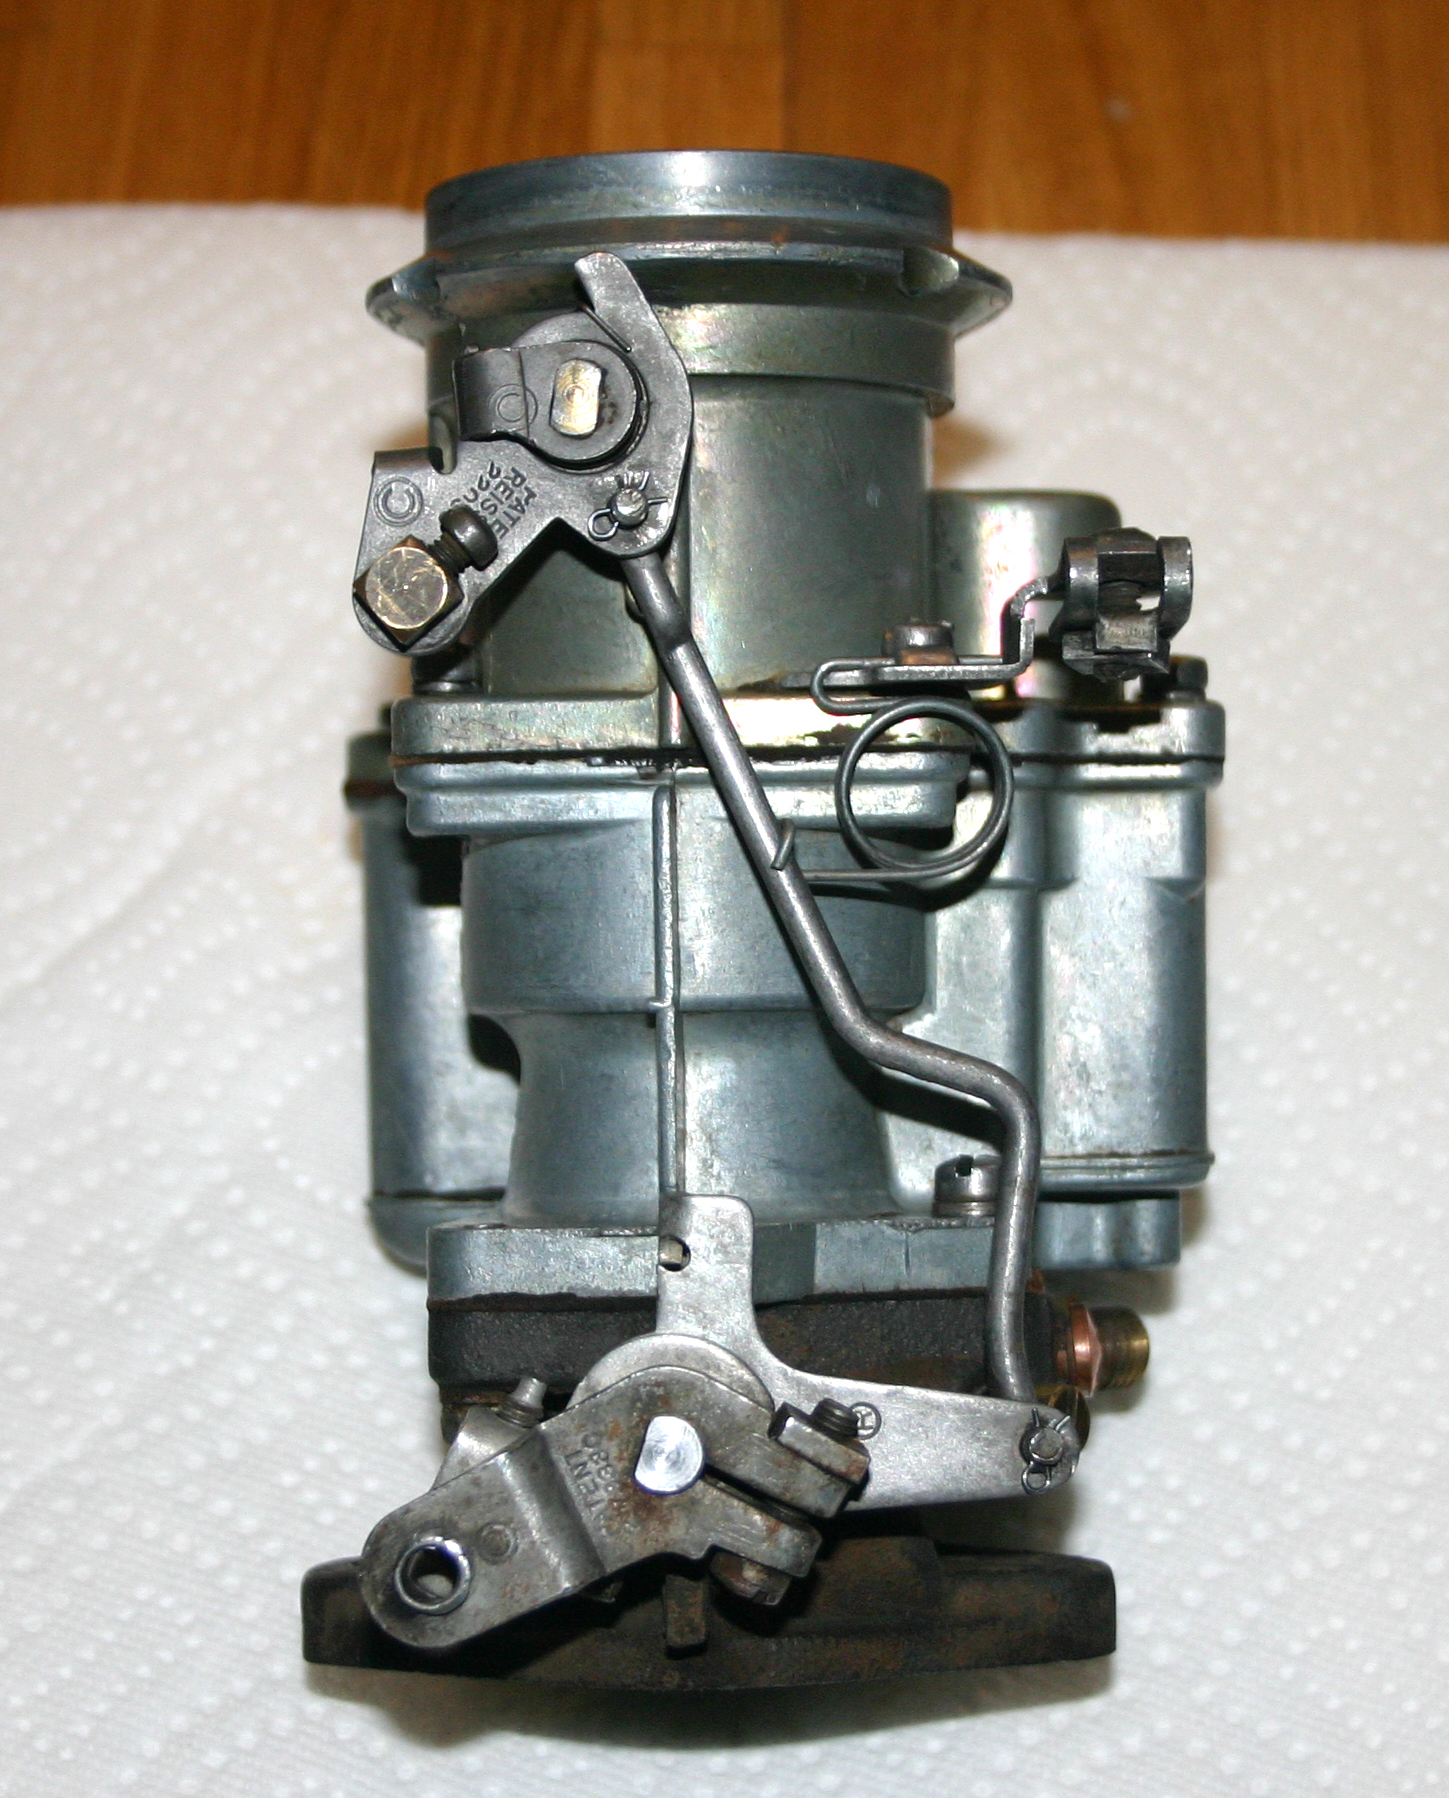
The service manual is actually very complete and easy to follow. I recommend following it carefully during the teardown and grouping the parts as they suggest. In addition, I did the rough cleaning of my carburetor 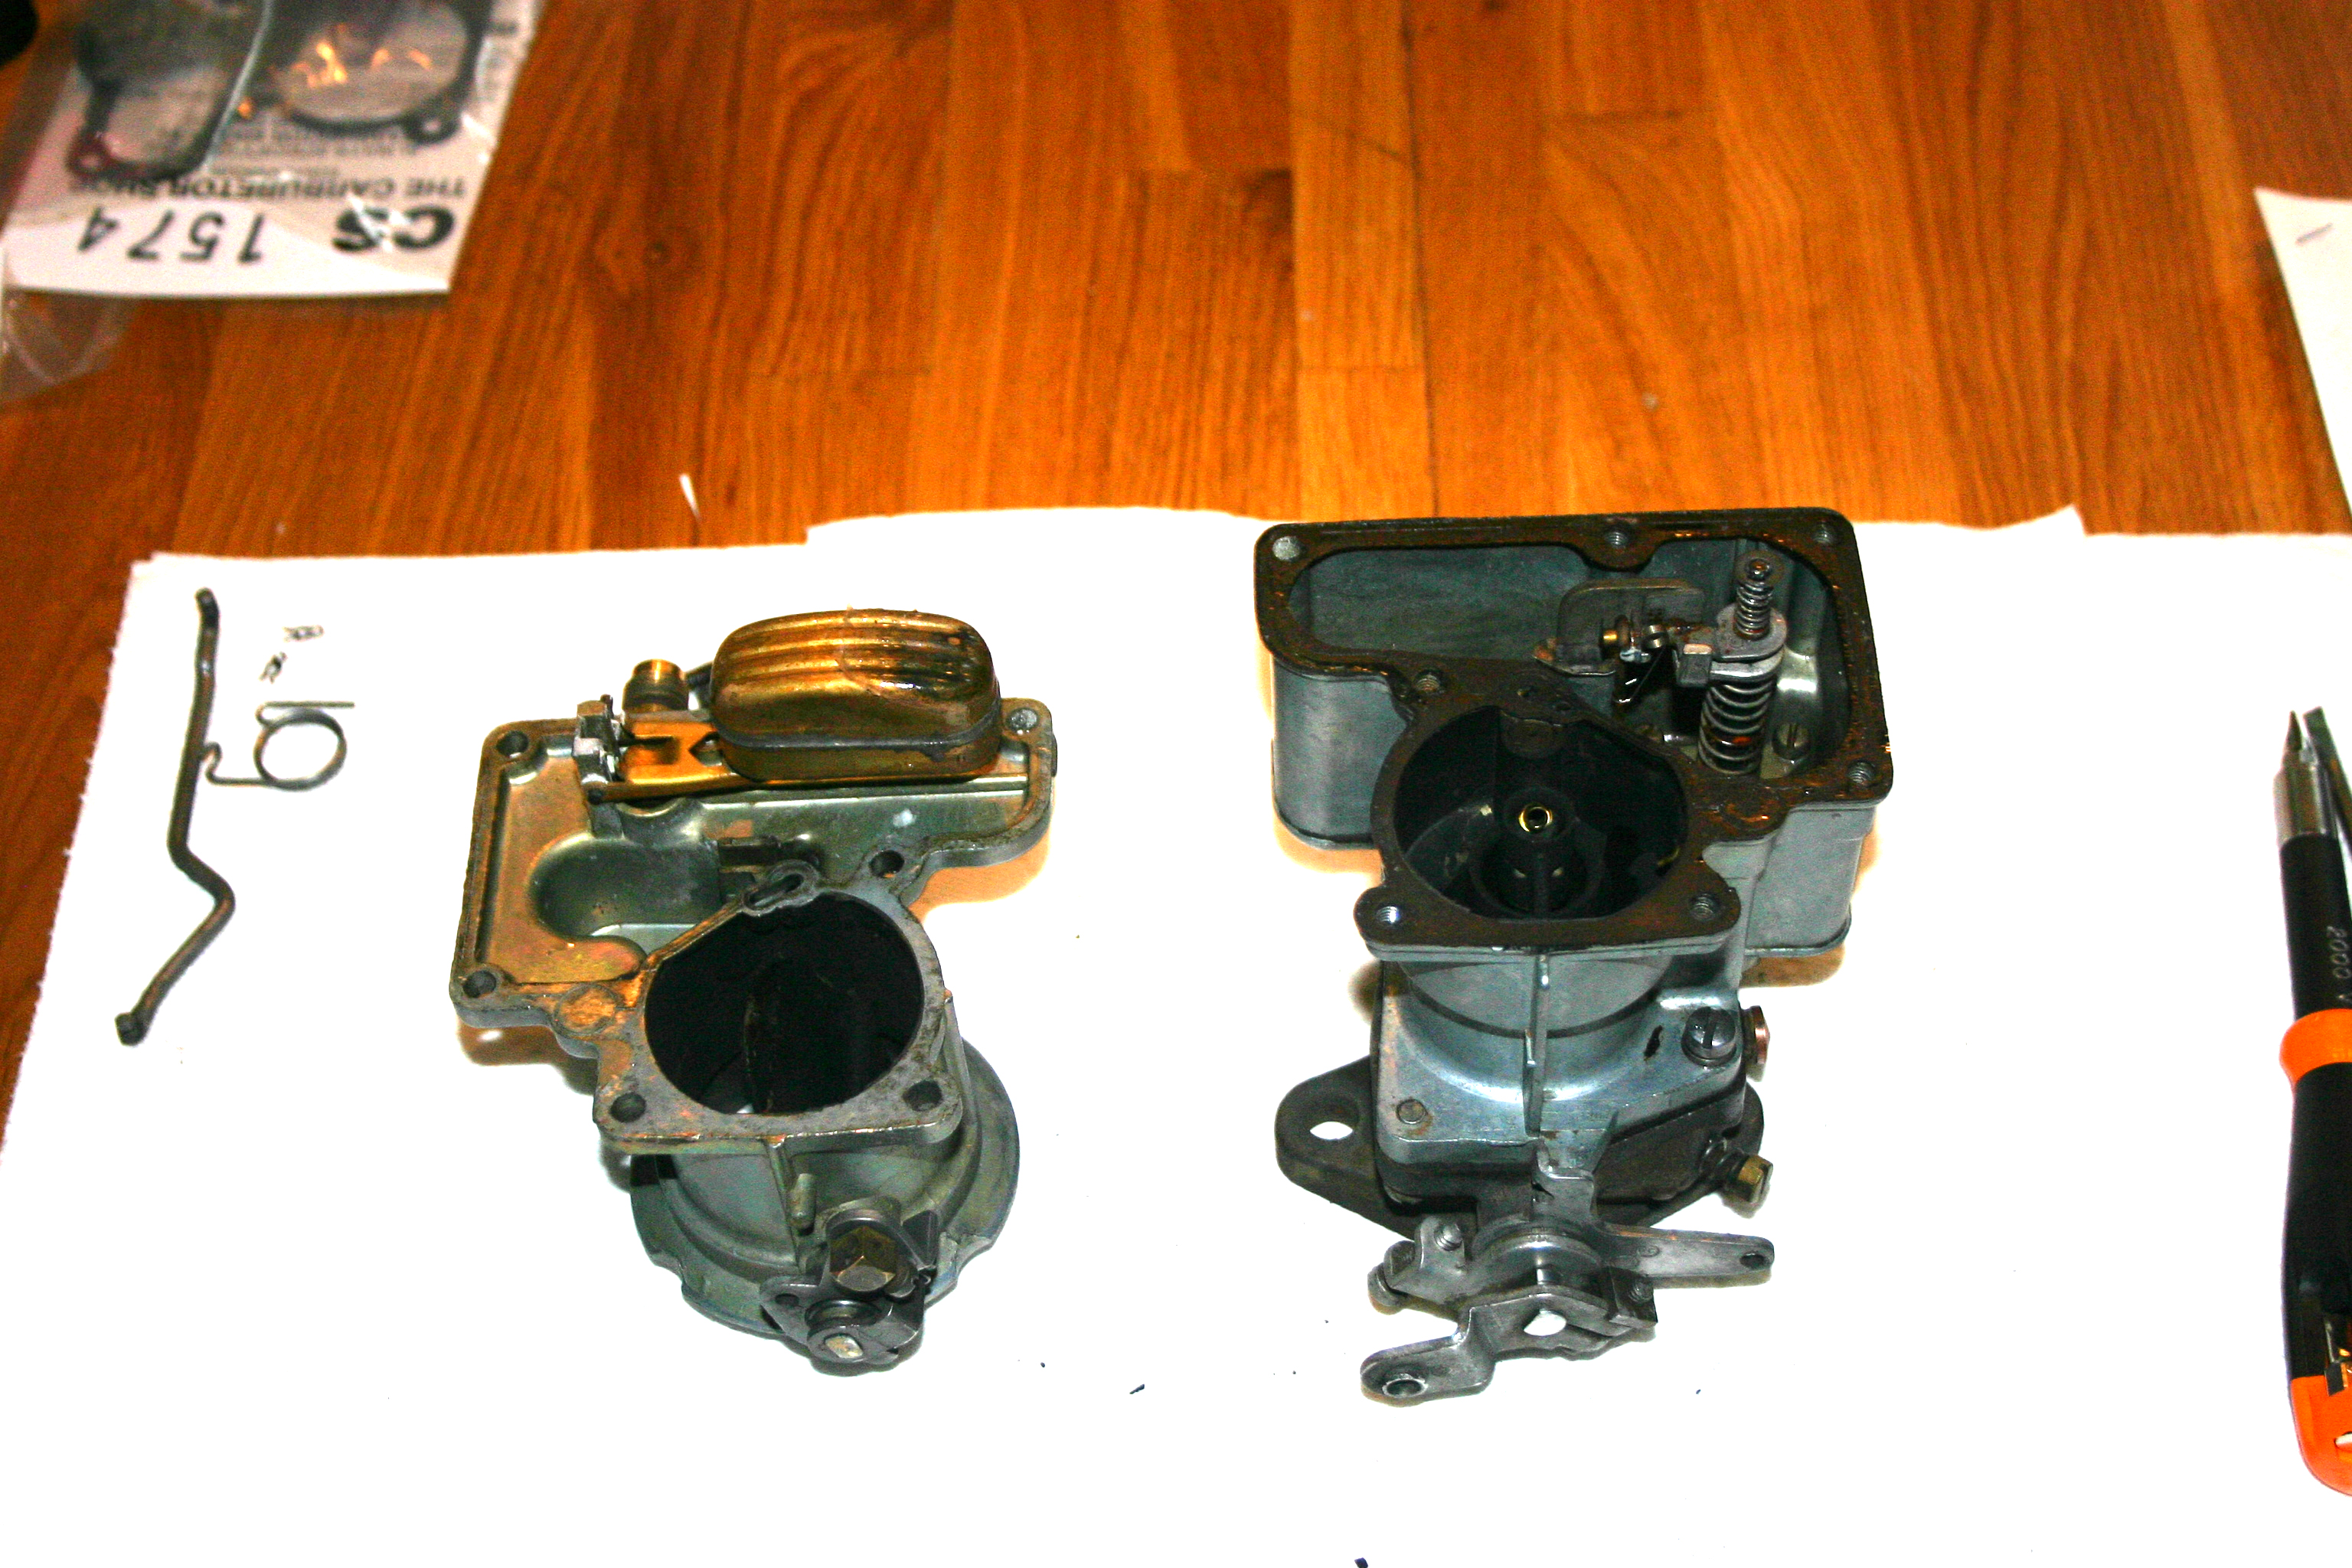 with some carb cleaner and a toothbrush, but that only removes the outside grime. The photo above shows the carb after the initial cleaning - not too bad at all, actually. However, the inside of the carb is still another story - as you can see from the next two photos. There was quite a bit of varnish and scum inside of this particular carburetor - it took a LOT of work to get it all out.
 To get the parts REALLY clean, I recommend taking the additional step of purchasing and using an ultrasonic cleaner - I picked one up on sale at Harbor Freight tools and it did an amazing job. I had to run some of the parts through 3 or 4 times, but it was still a LOT better than using tons of solvent and it cleaned the parts up beautifully.
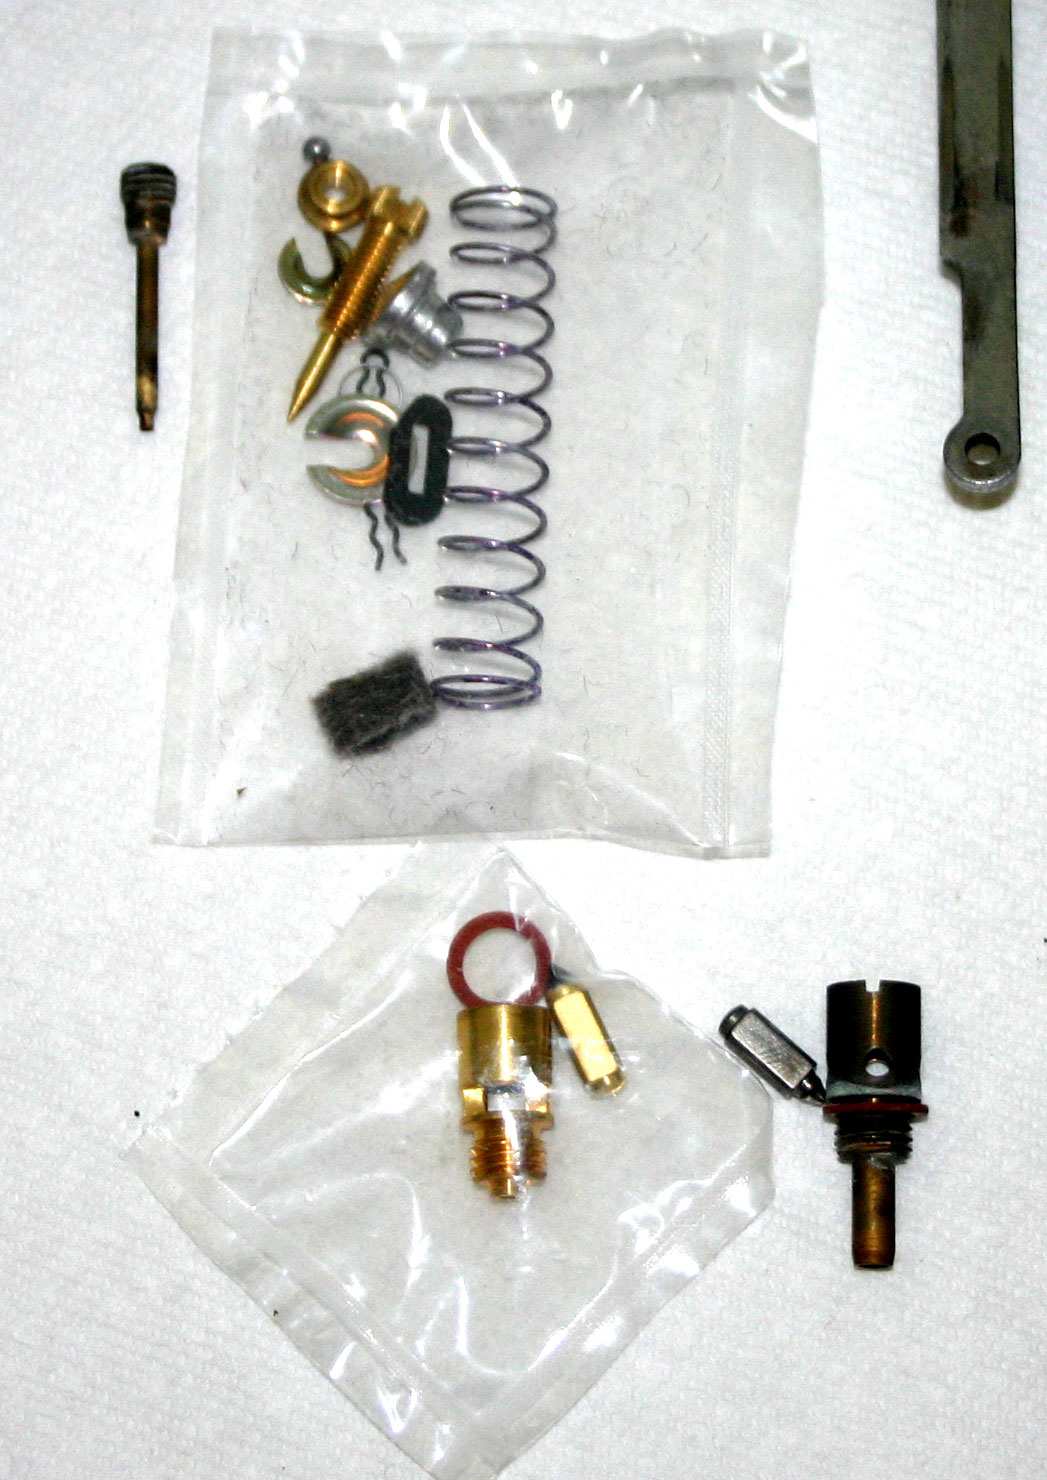 One item that tripped me up a little during the rebuild, and might throw you off as well, is the fact that you might find some differences between your rebuild kit and your original carburetor parts. In my case, the needle and seat assembly were quite a bit different as you can see in the next photo.
I phoned the Carburetor Shop and spoke with them about it, and they reassured me that the new needle and seat assembly are an improvement over the old, so we'll see once we get Cornelia fired up :-)
The needle and seat assembly are at the bottom of the photo. The original needle seat (on the right) has a long tube, whereas the new one does not. The fellas at the Carburetor Shop informed me that the new needle seat will provide better idling.
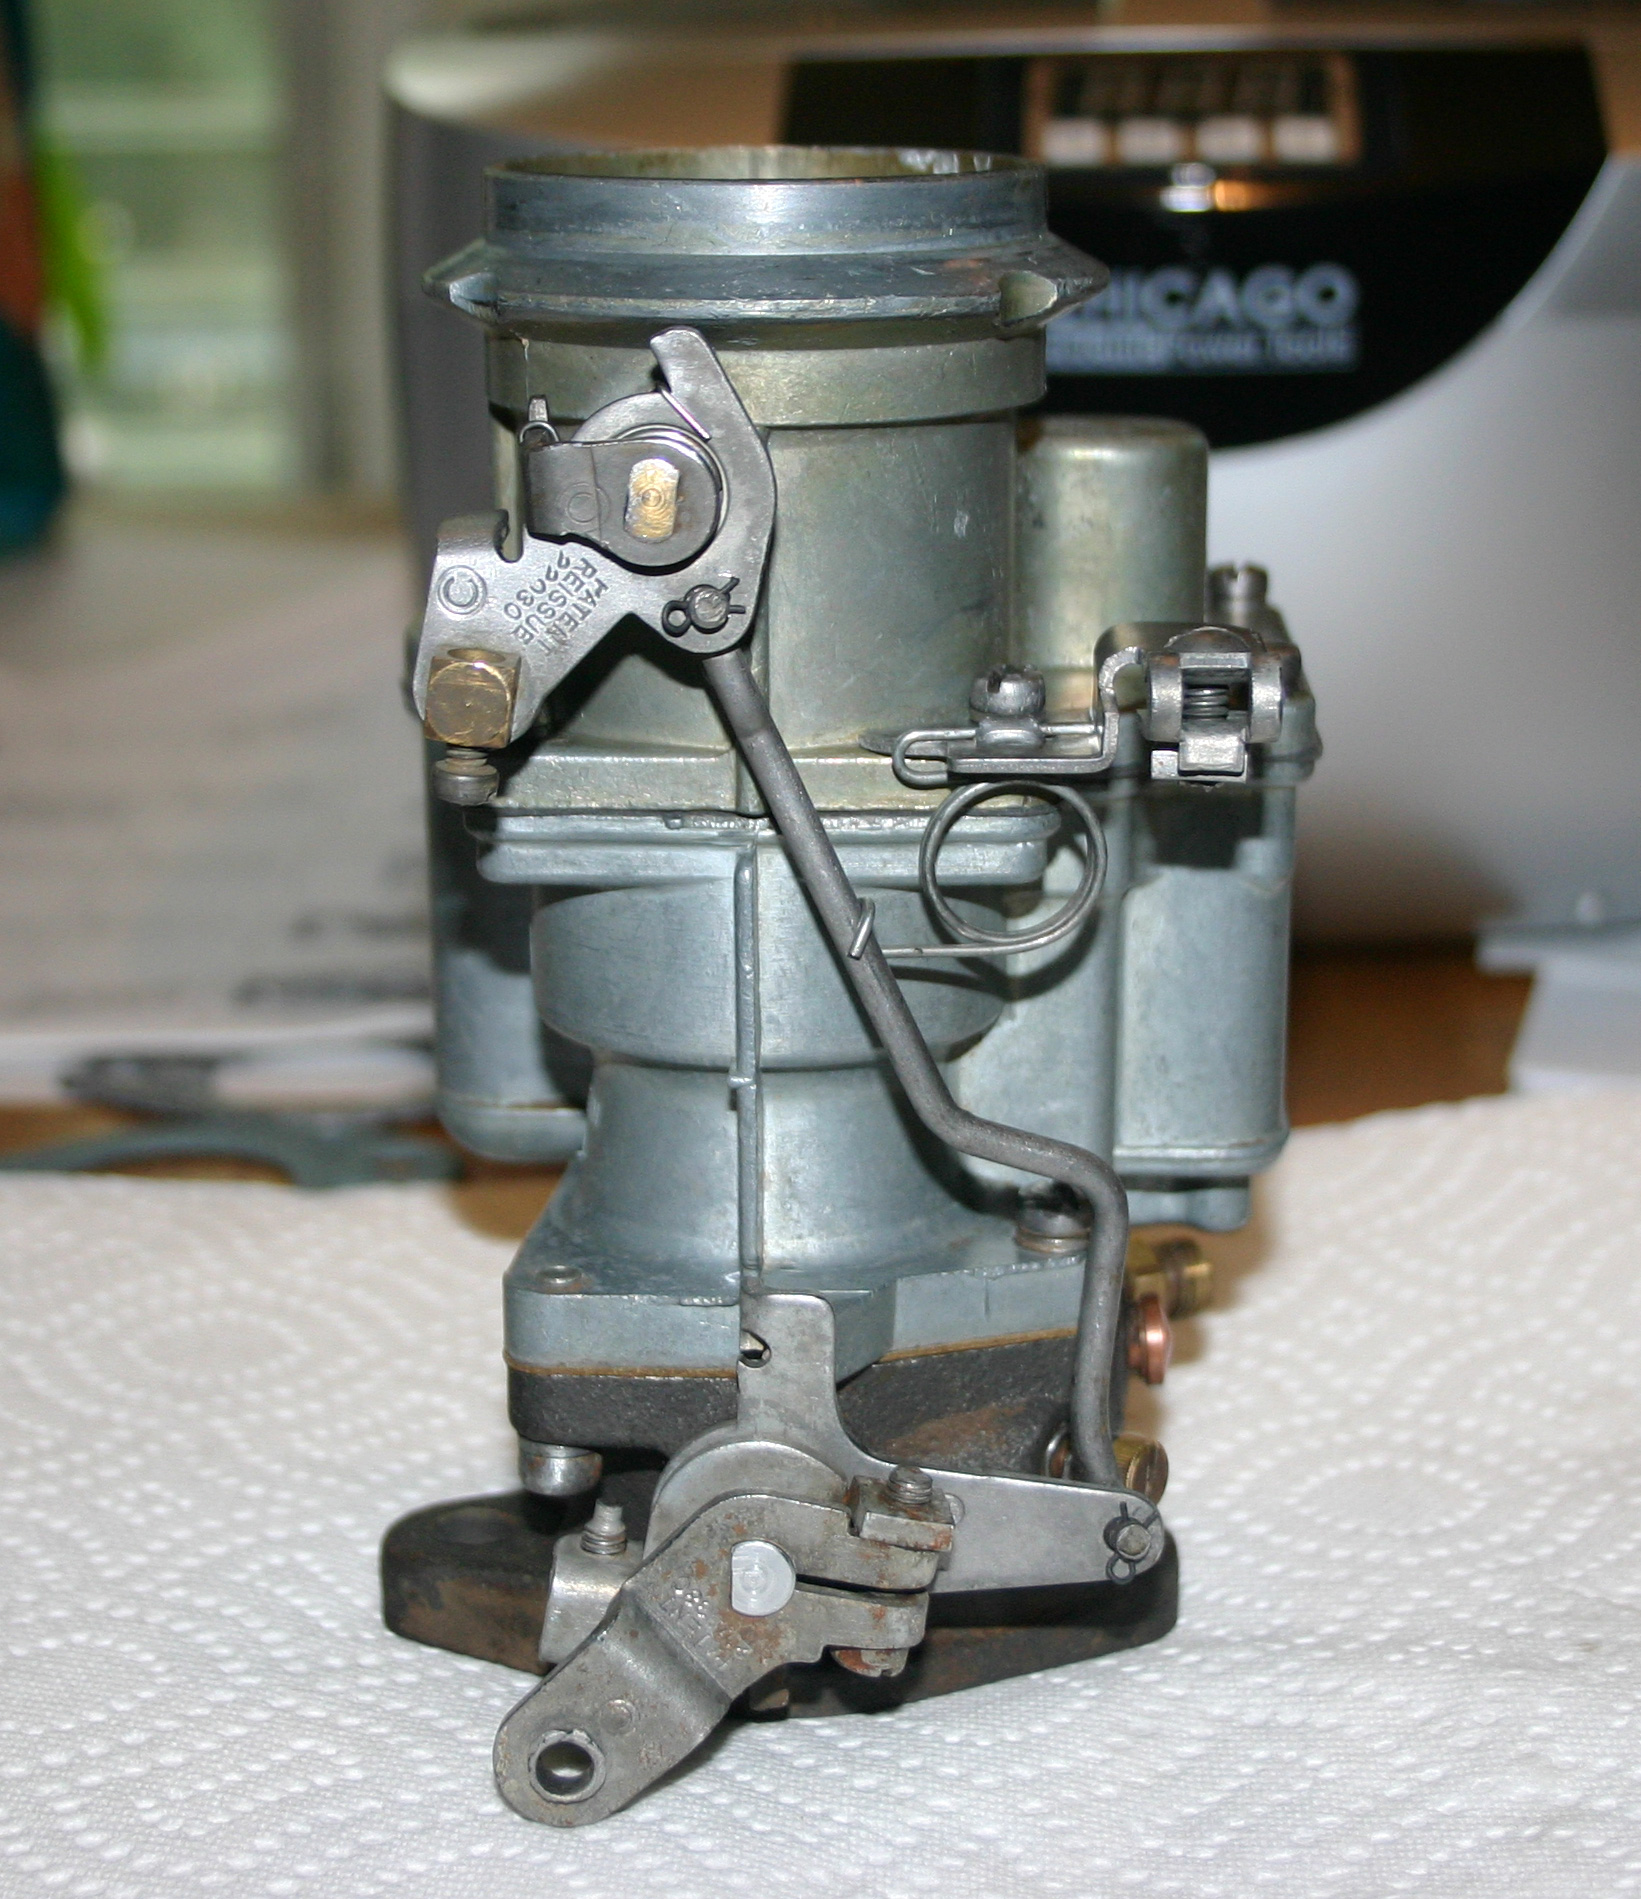
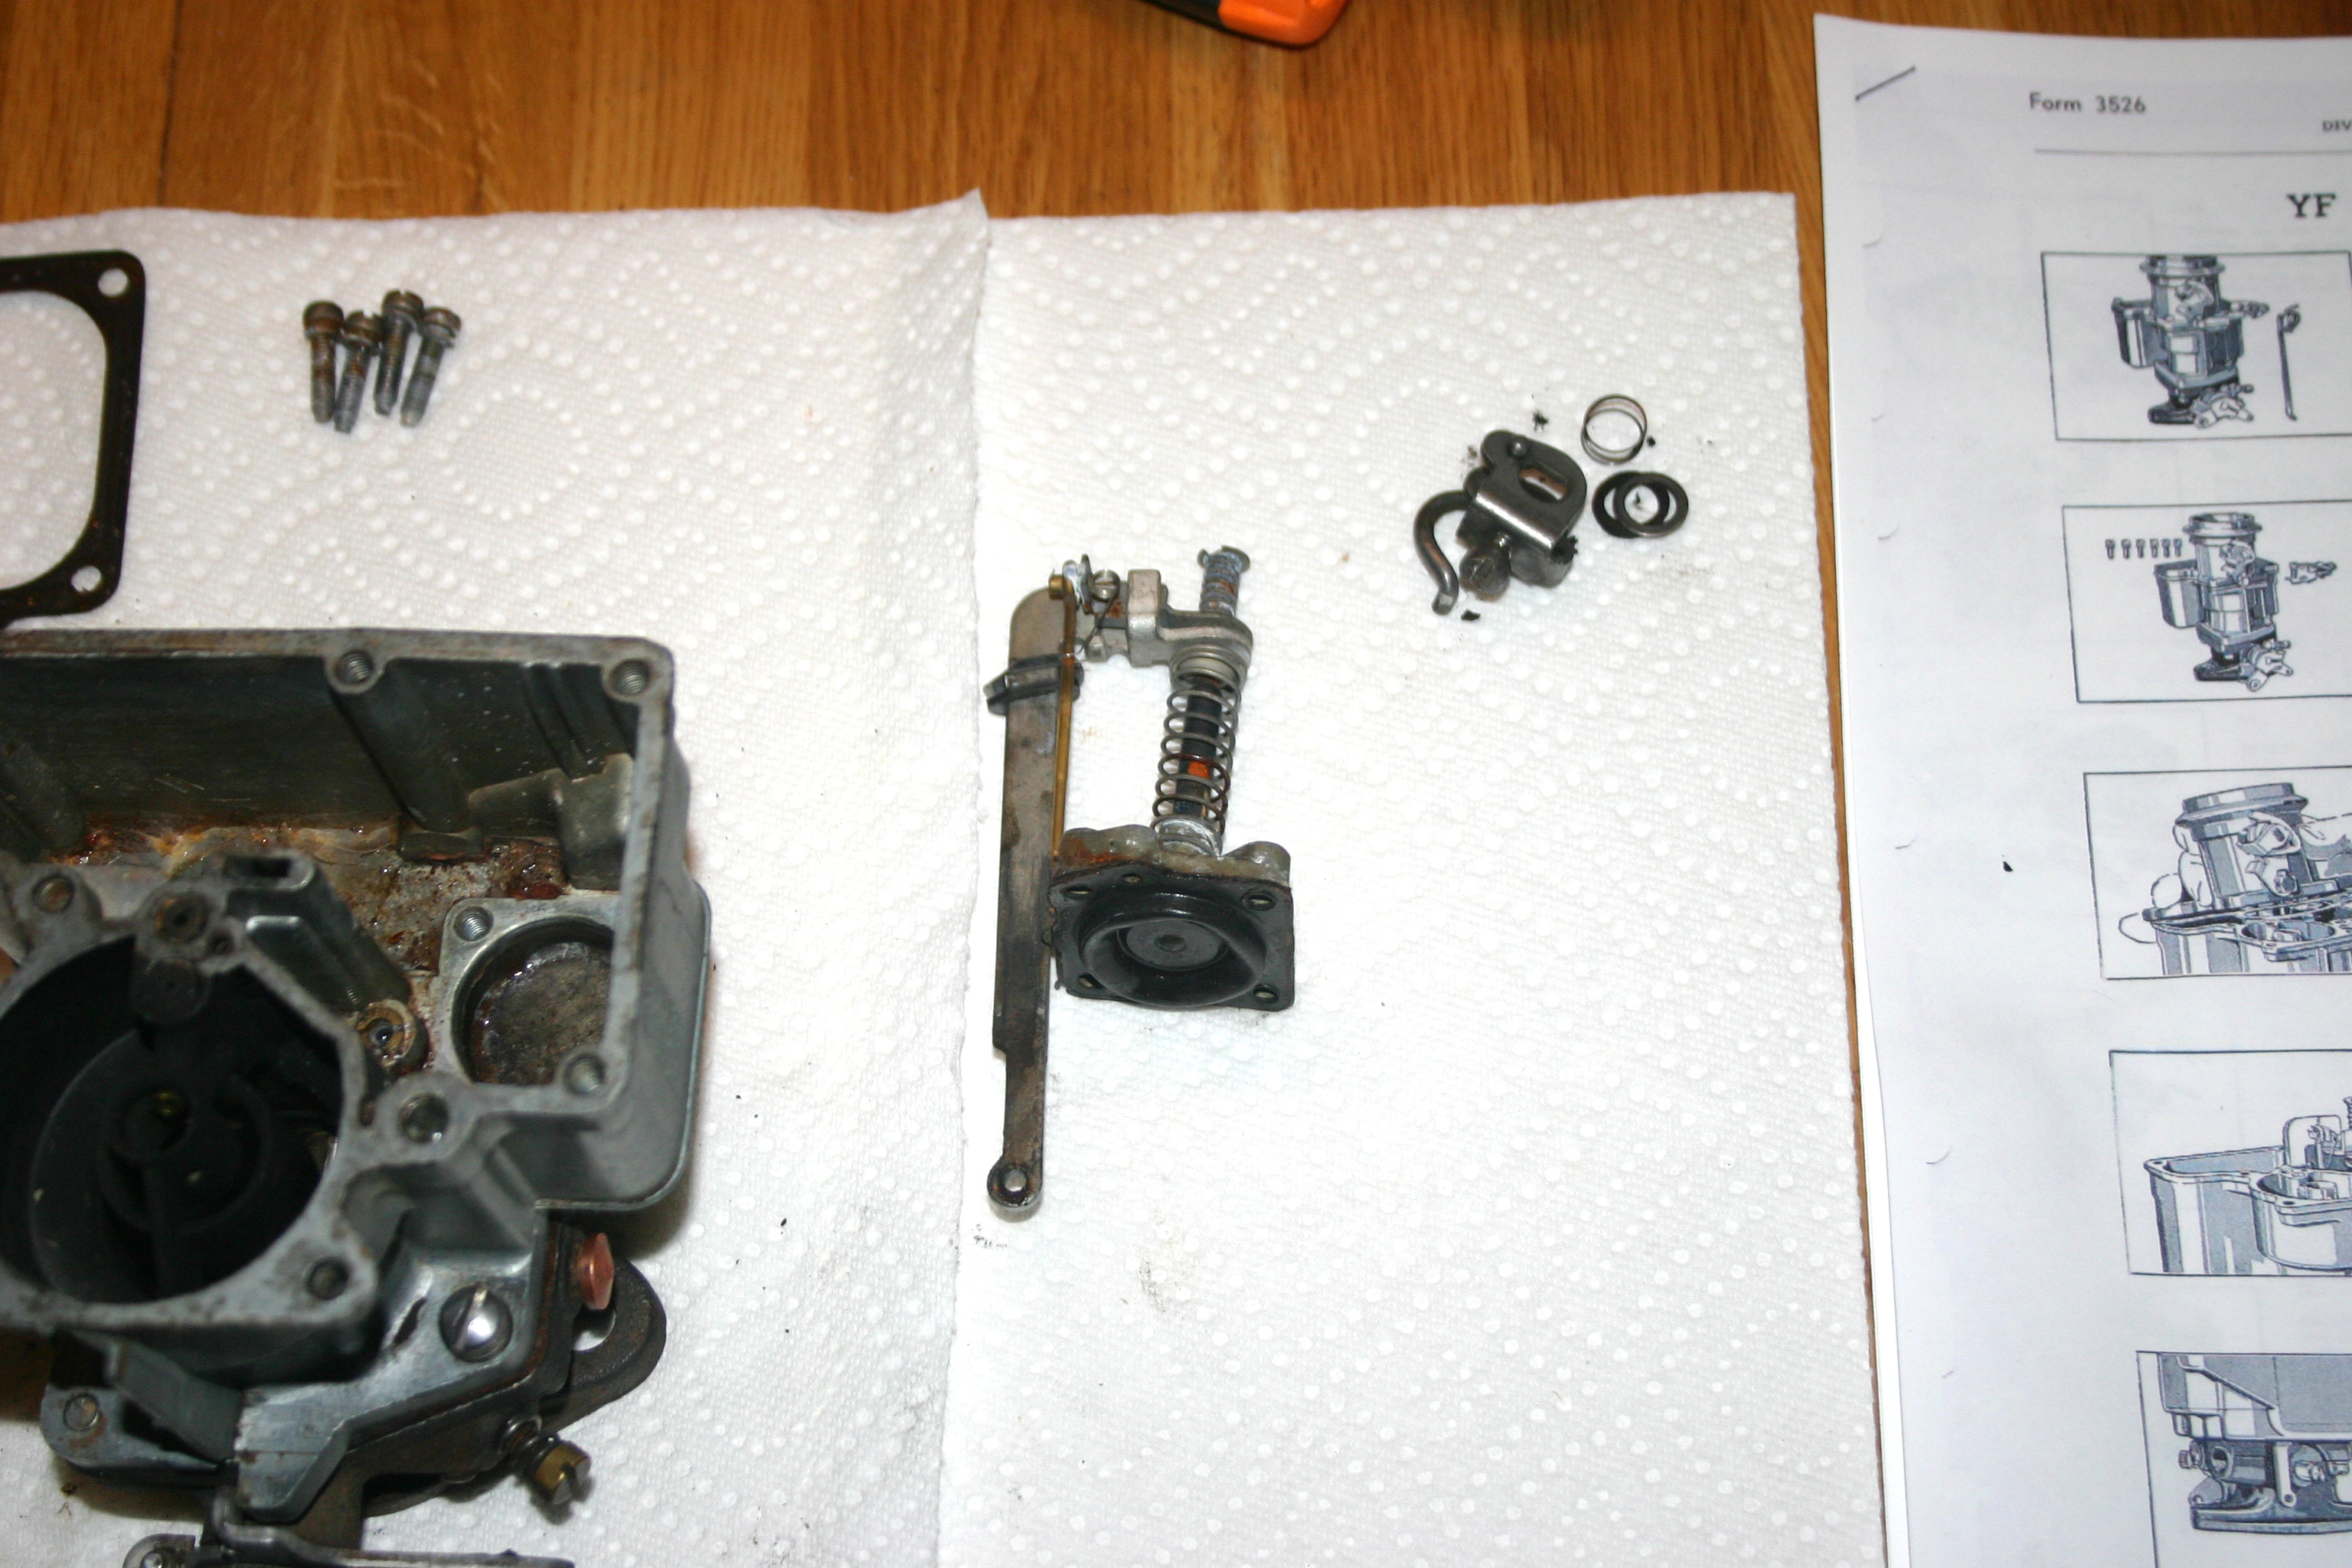
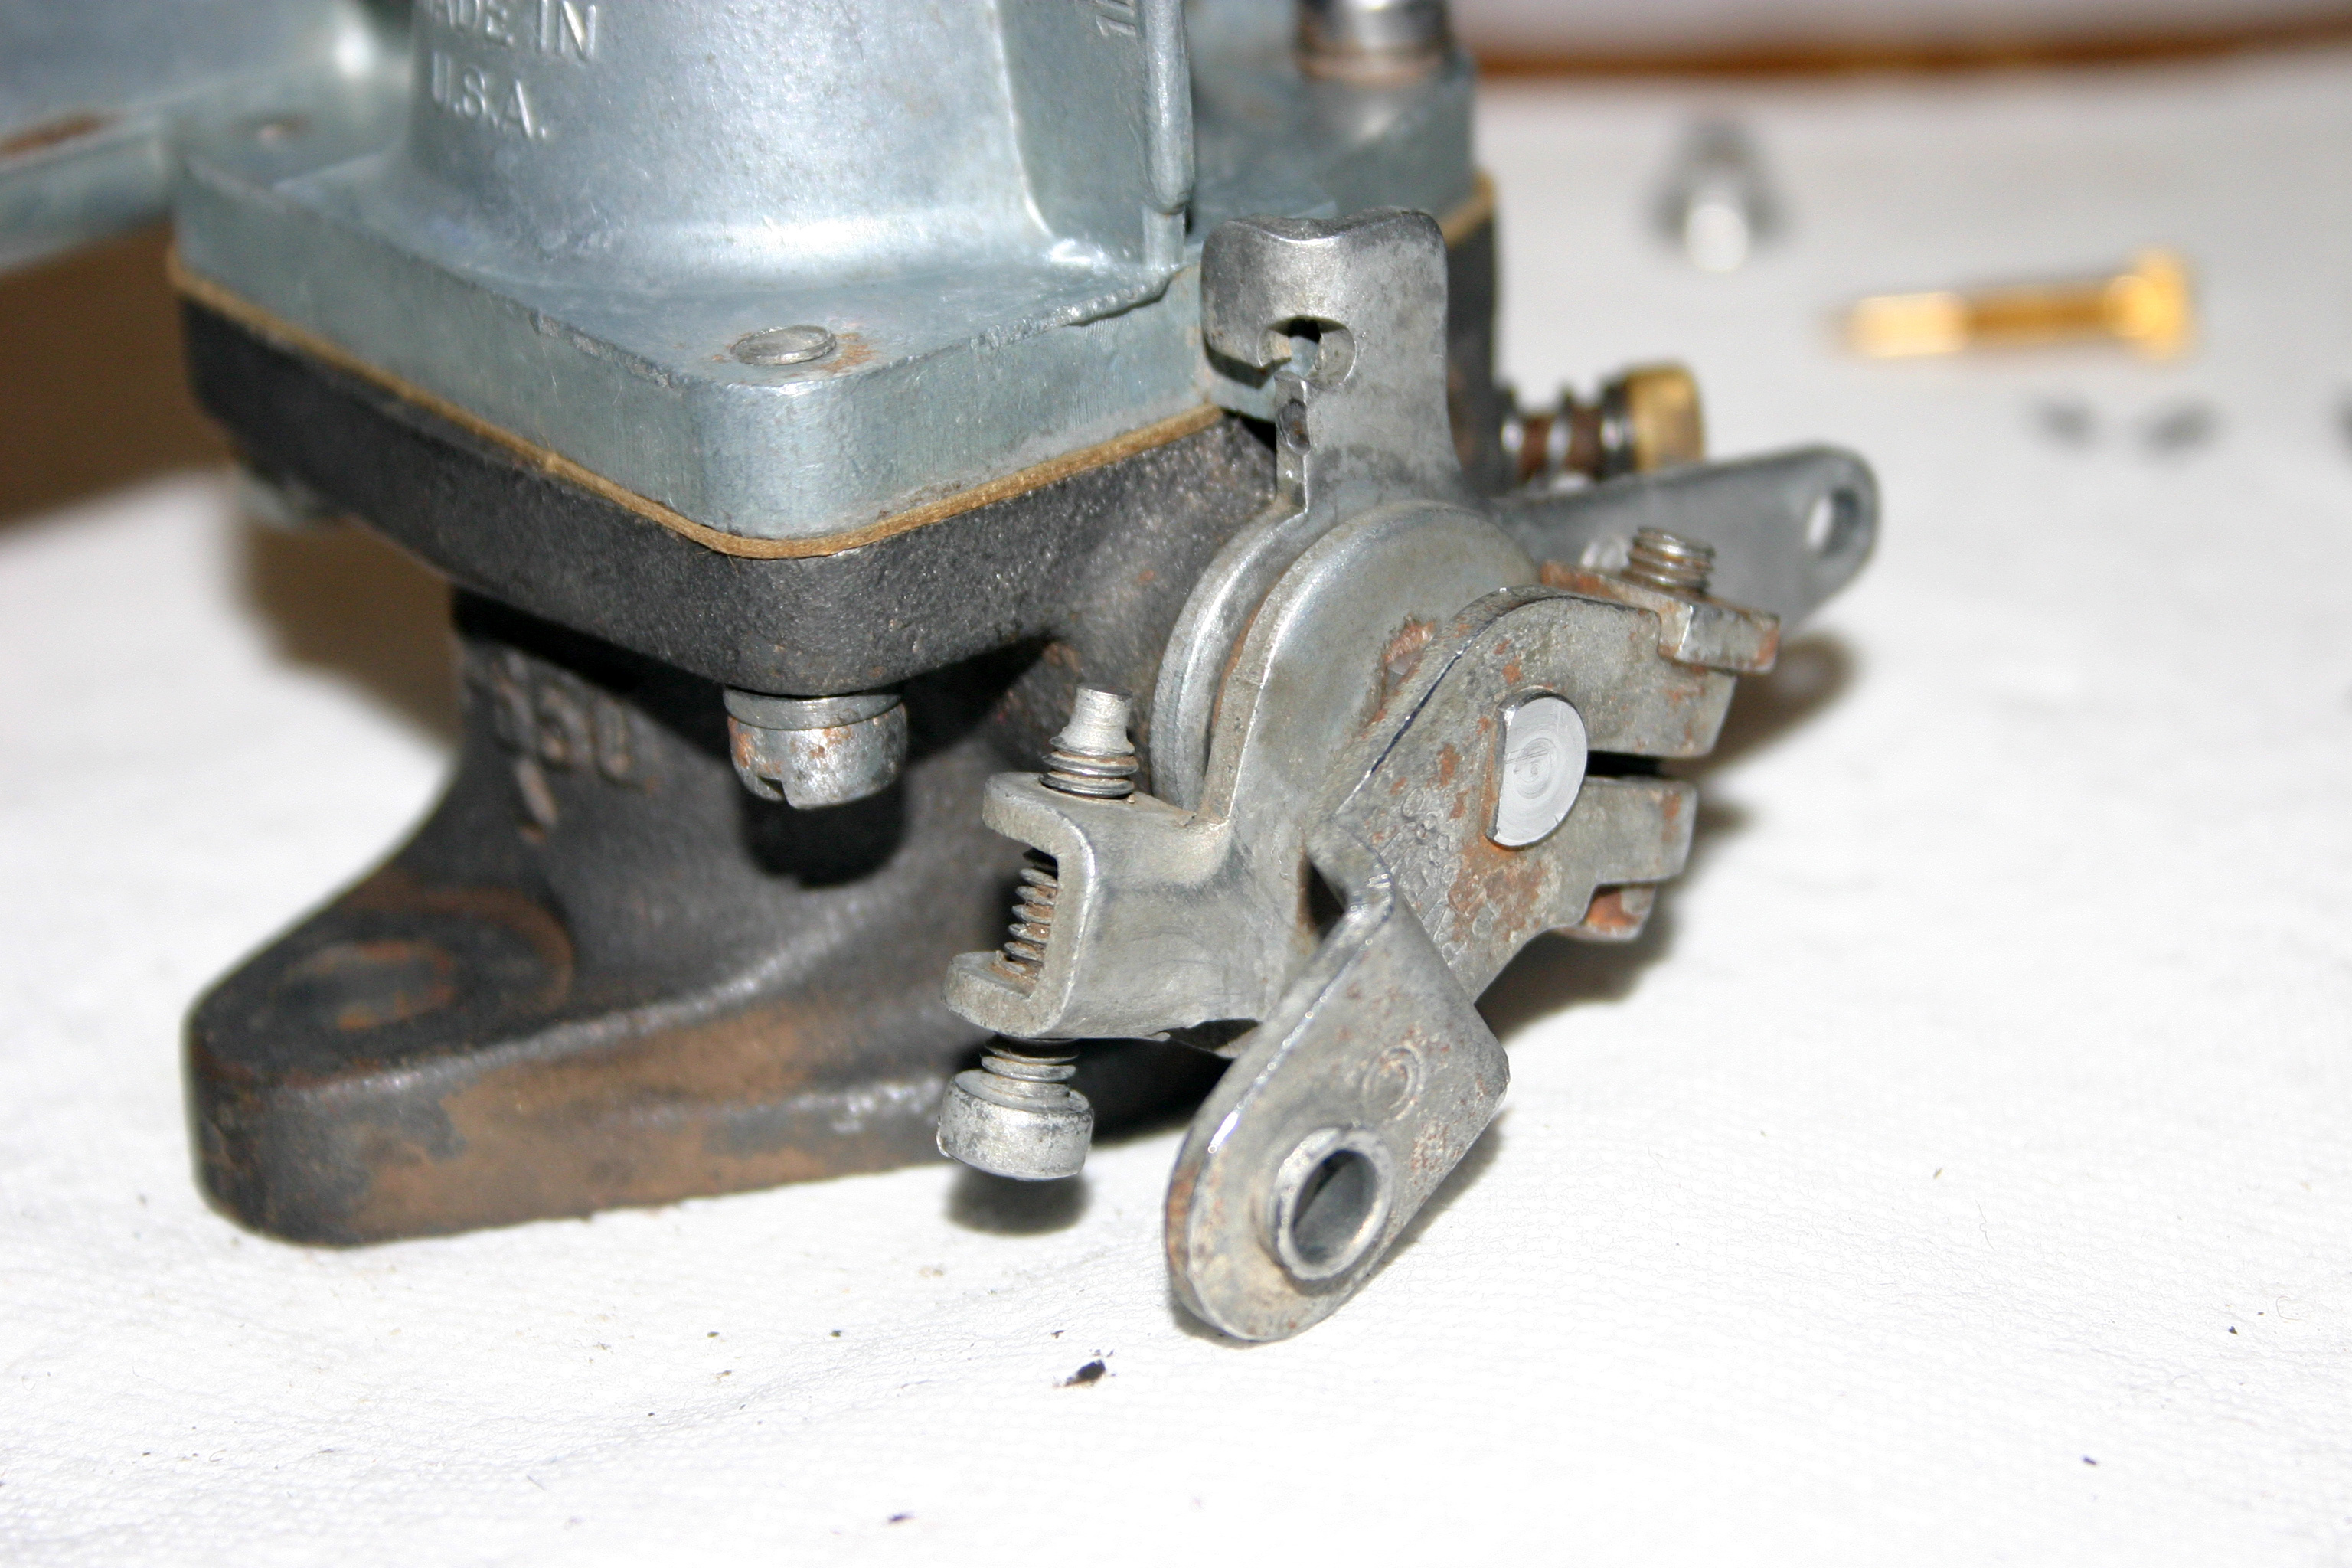 The next photo shows the throttle shaft arm assembly in detail - you will need to remove this in order to separate and later re-attach the main body of the carburetor from the air horn.
In the case of this photo (to the left), it has just been reattached.
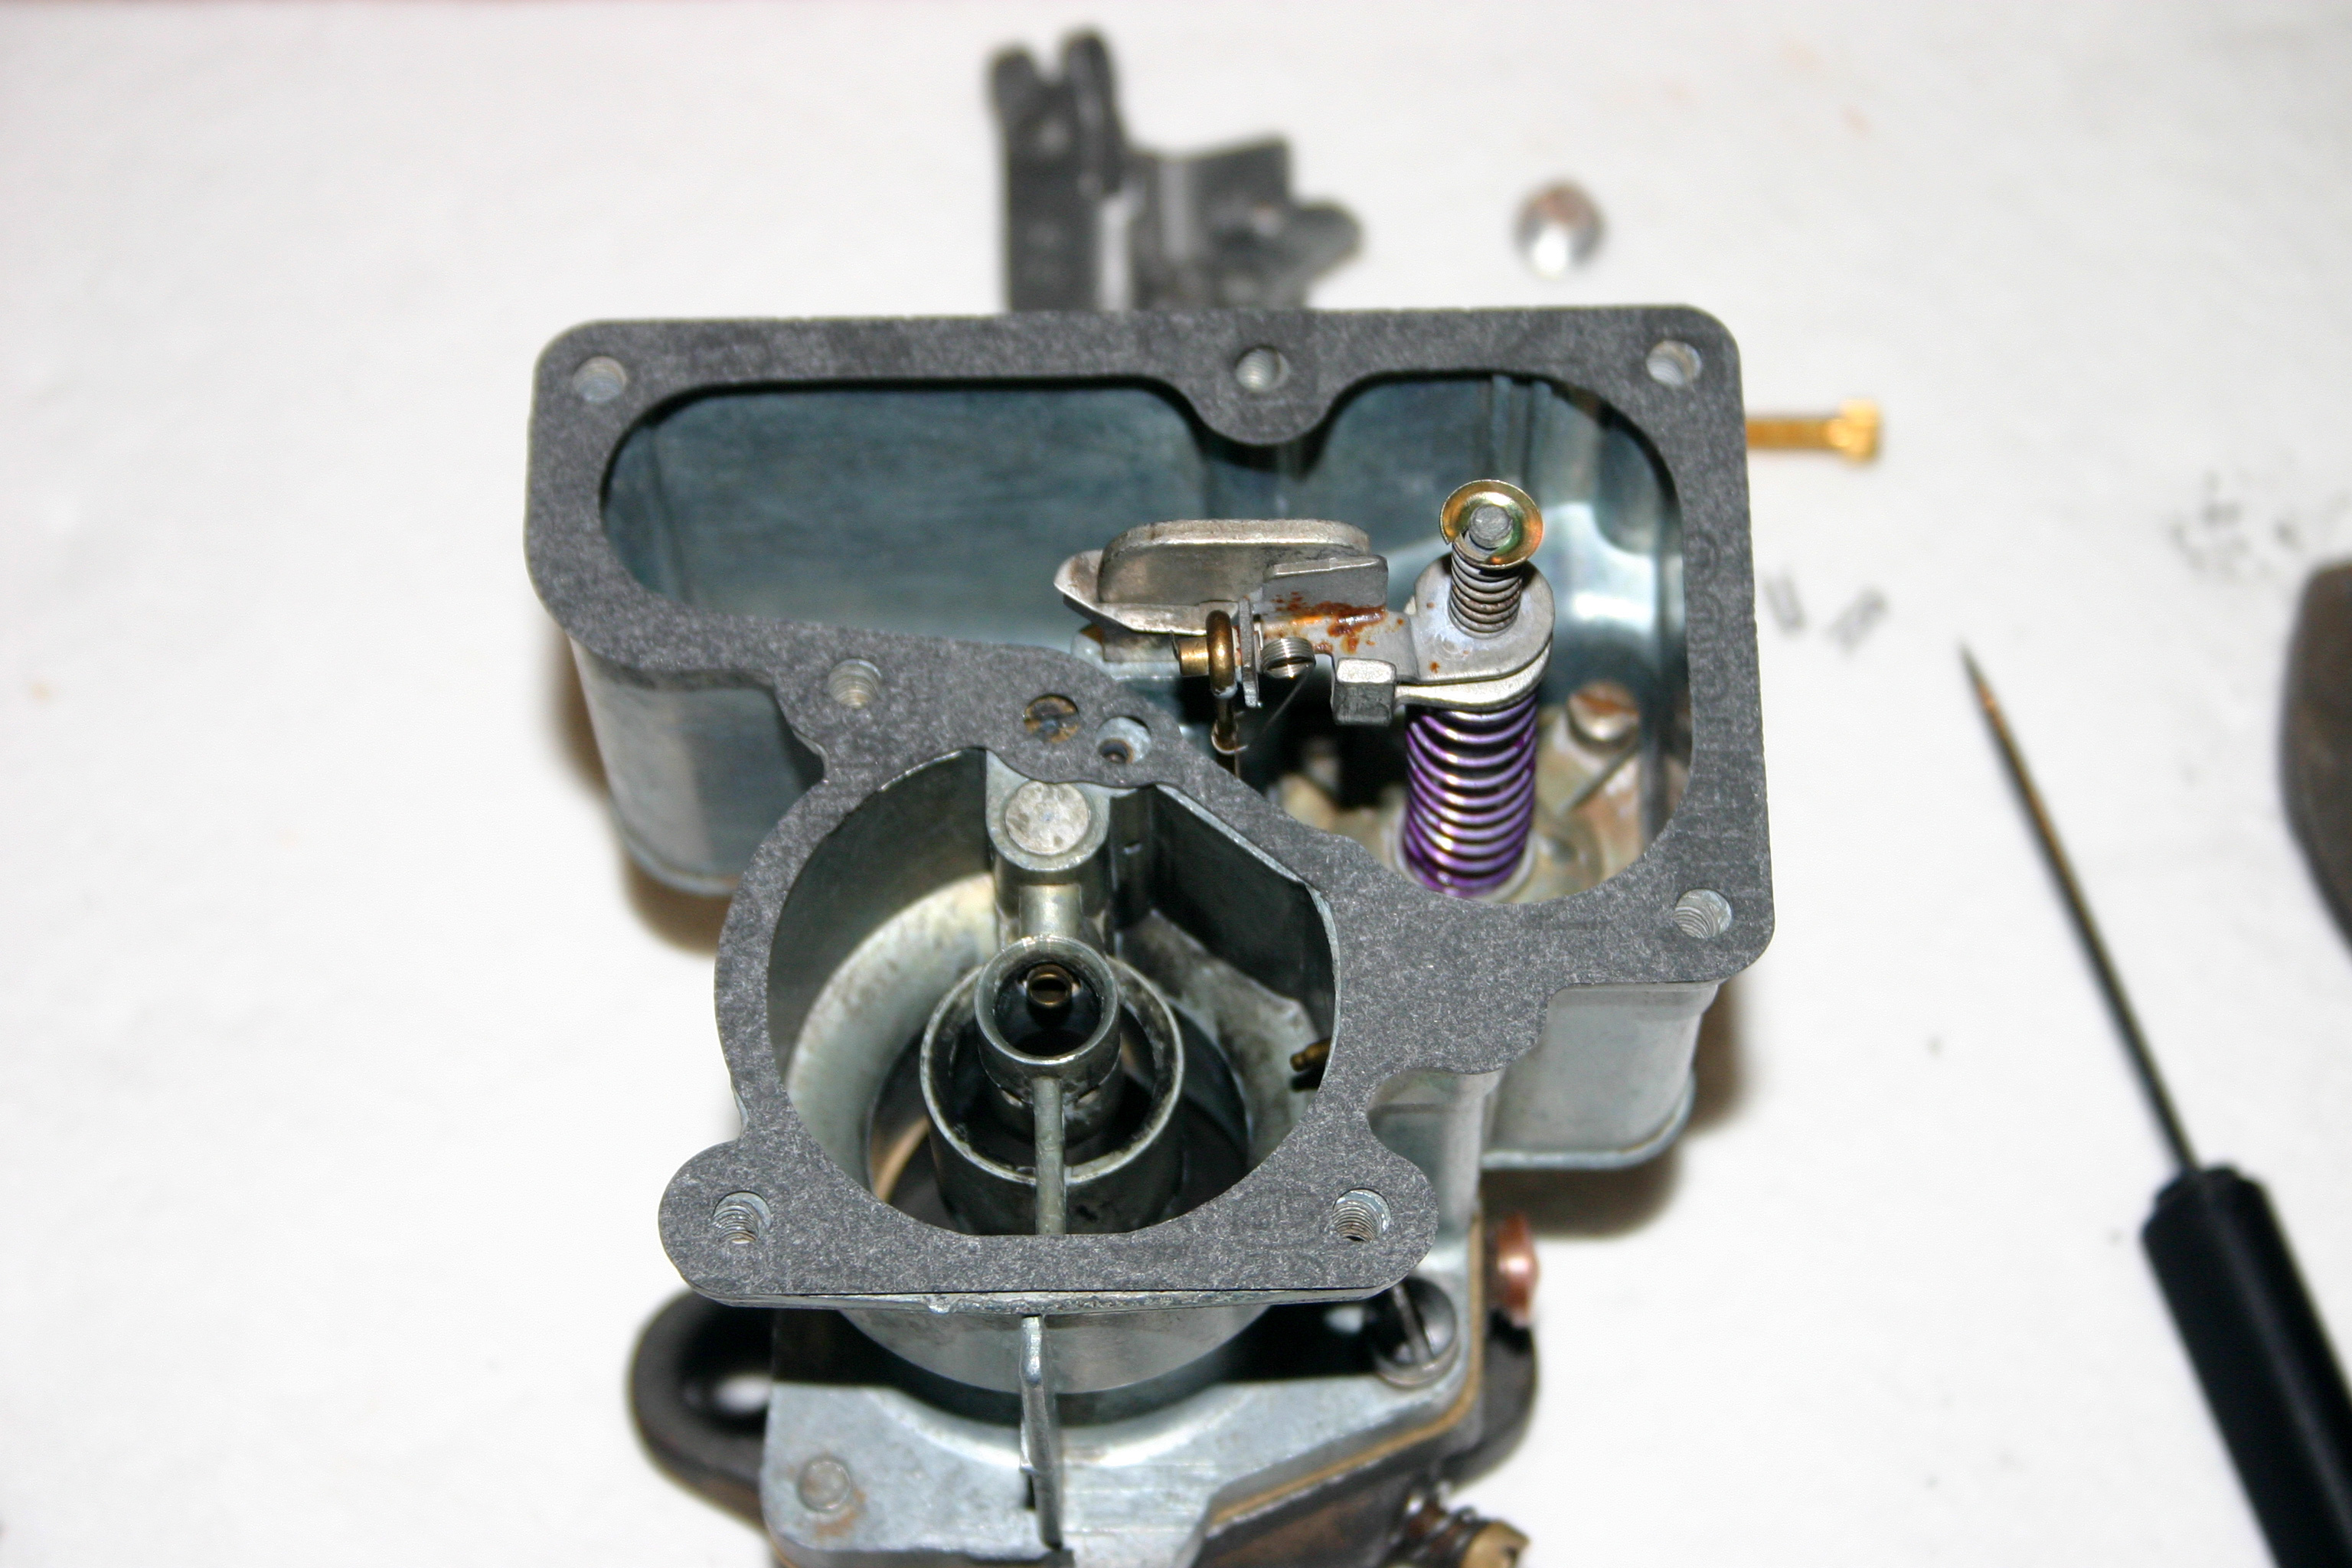 Now everything is cleaned up, the jets have been cleaned and/or replaced according to what has been provided with the kit, and the accelerator pump assembly has been replaced and re-inserted. There is also a small note in the service manual to follow for setting your metering rod.
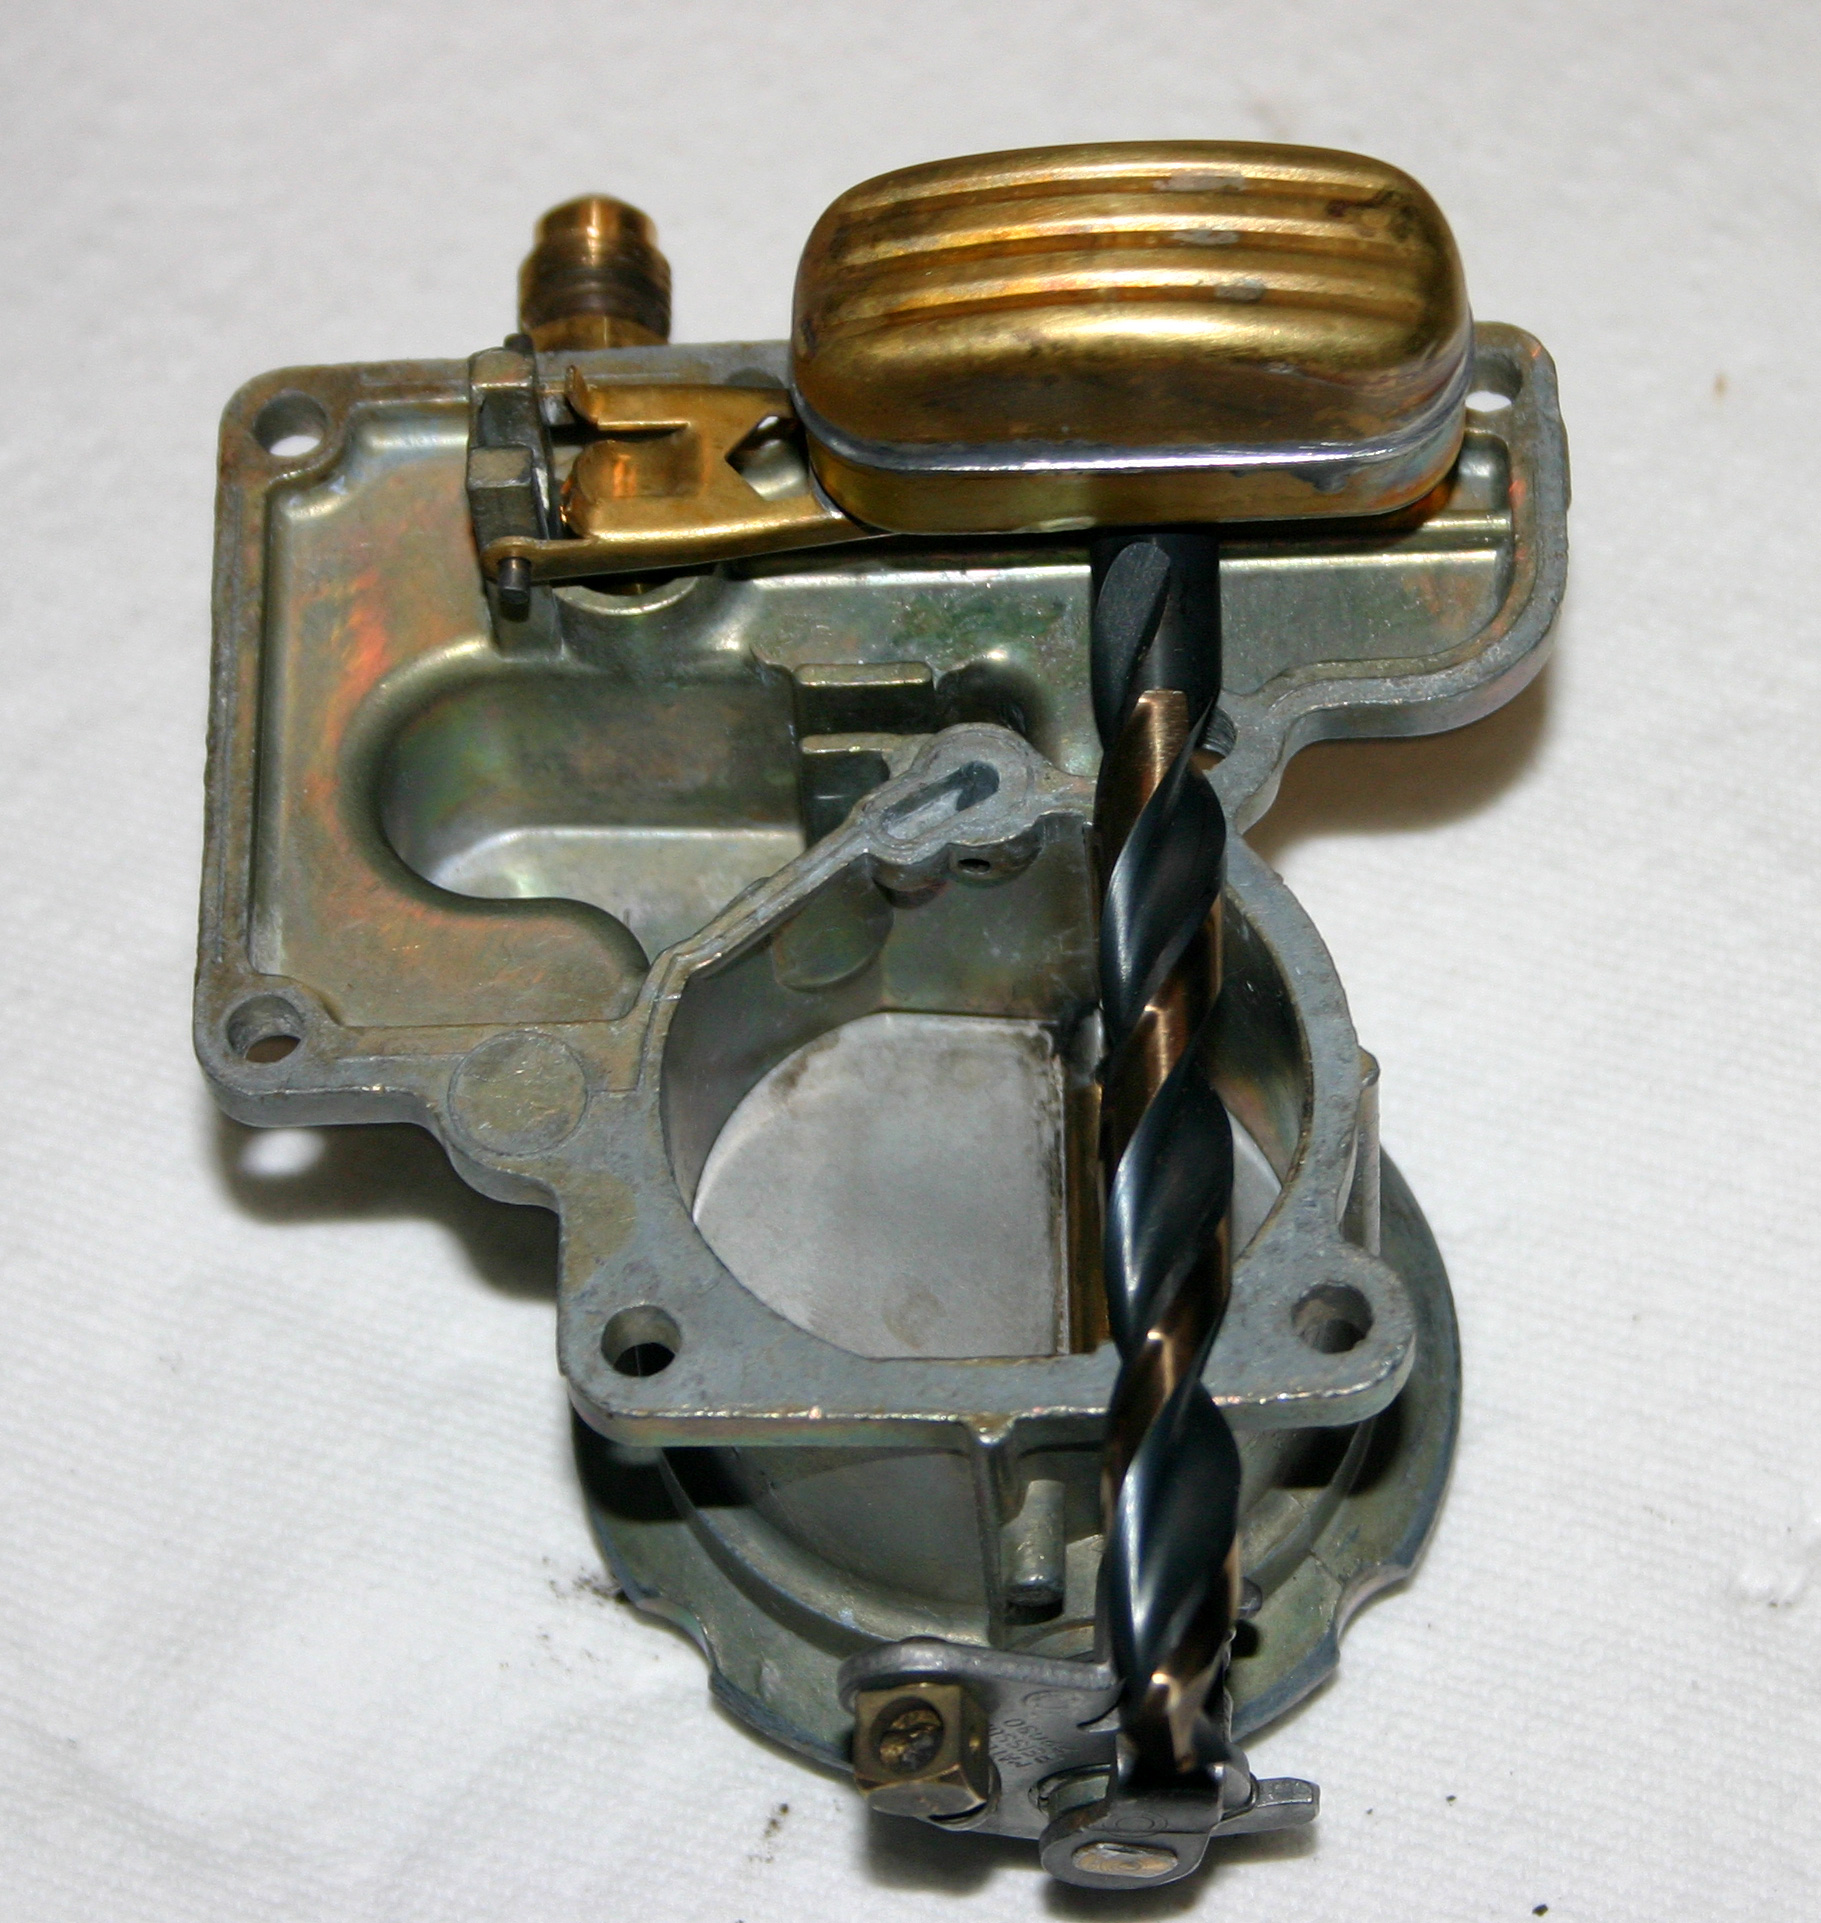 One of the most critical steps of a carburetor rebuild is setting the float height. To do this, you need to have replaced your needle and seat assembly and make sure everything works freely. In this case, with the new needle and seat assembly the float height was quite a bit different and needed a major adjustment to get it back to factory, which calls for a float level of 25/64".
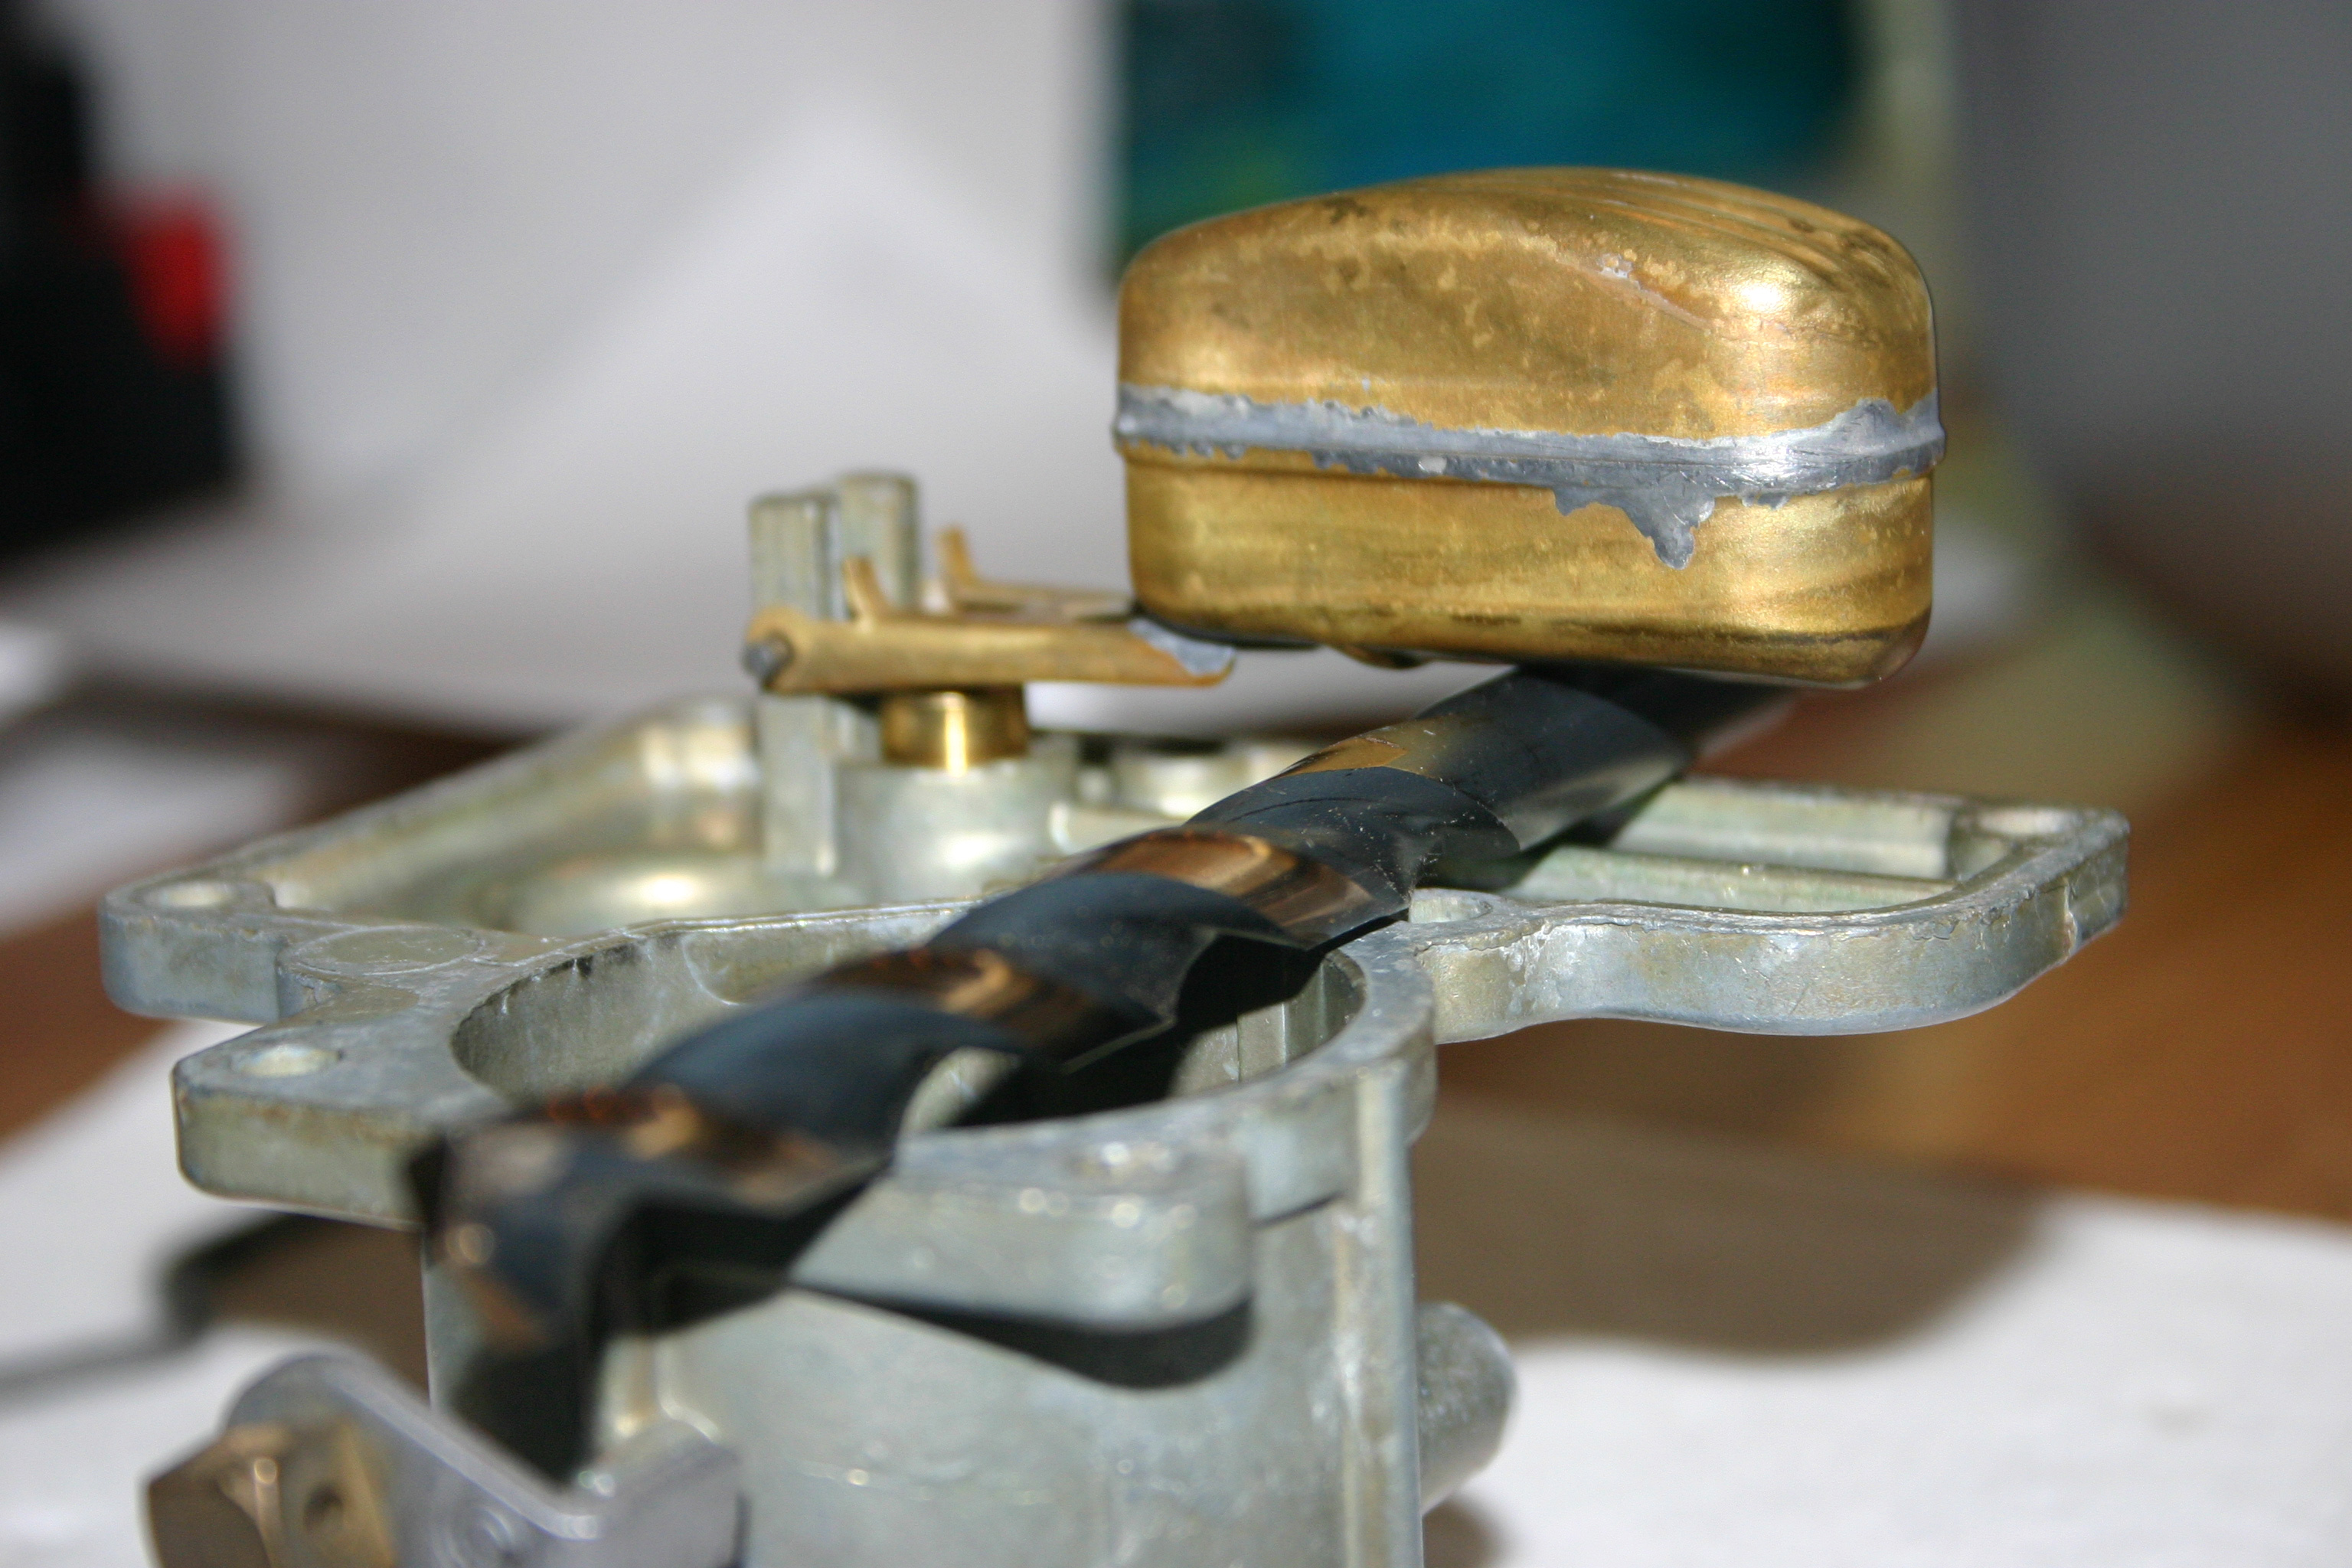 Here's another tip - to set your float height to 25/64", grab a drill bit of that diameter and lay it across your carburetor (make sure there is no gasket). You have yourself a handy float height adjuster.
I had to bend the center tab of the float just a little to get the float height adjusted, but it didn't take much.
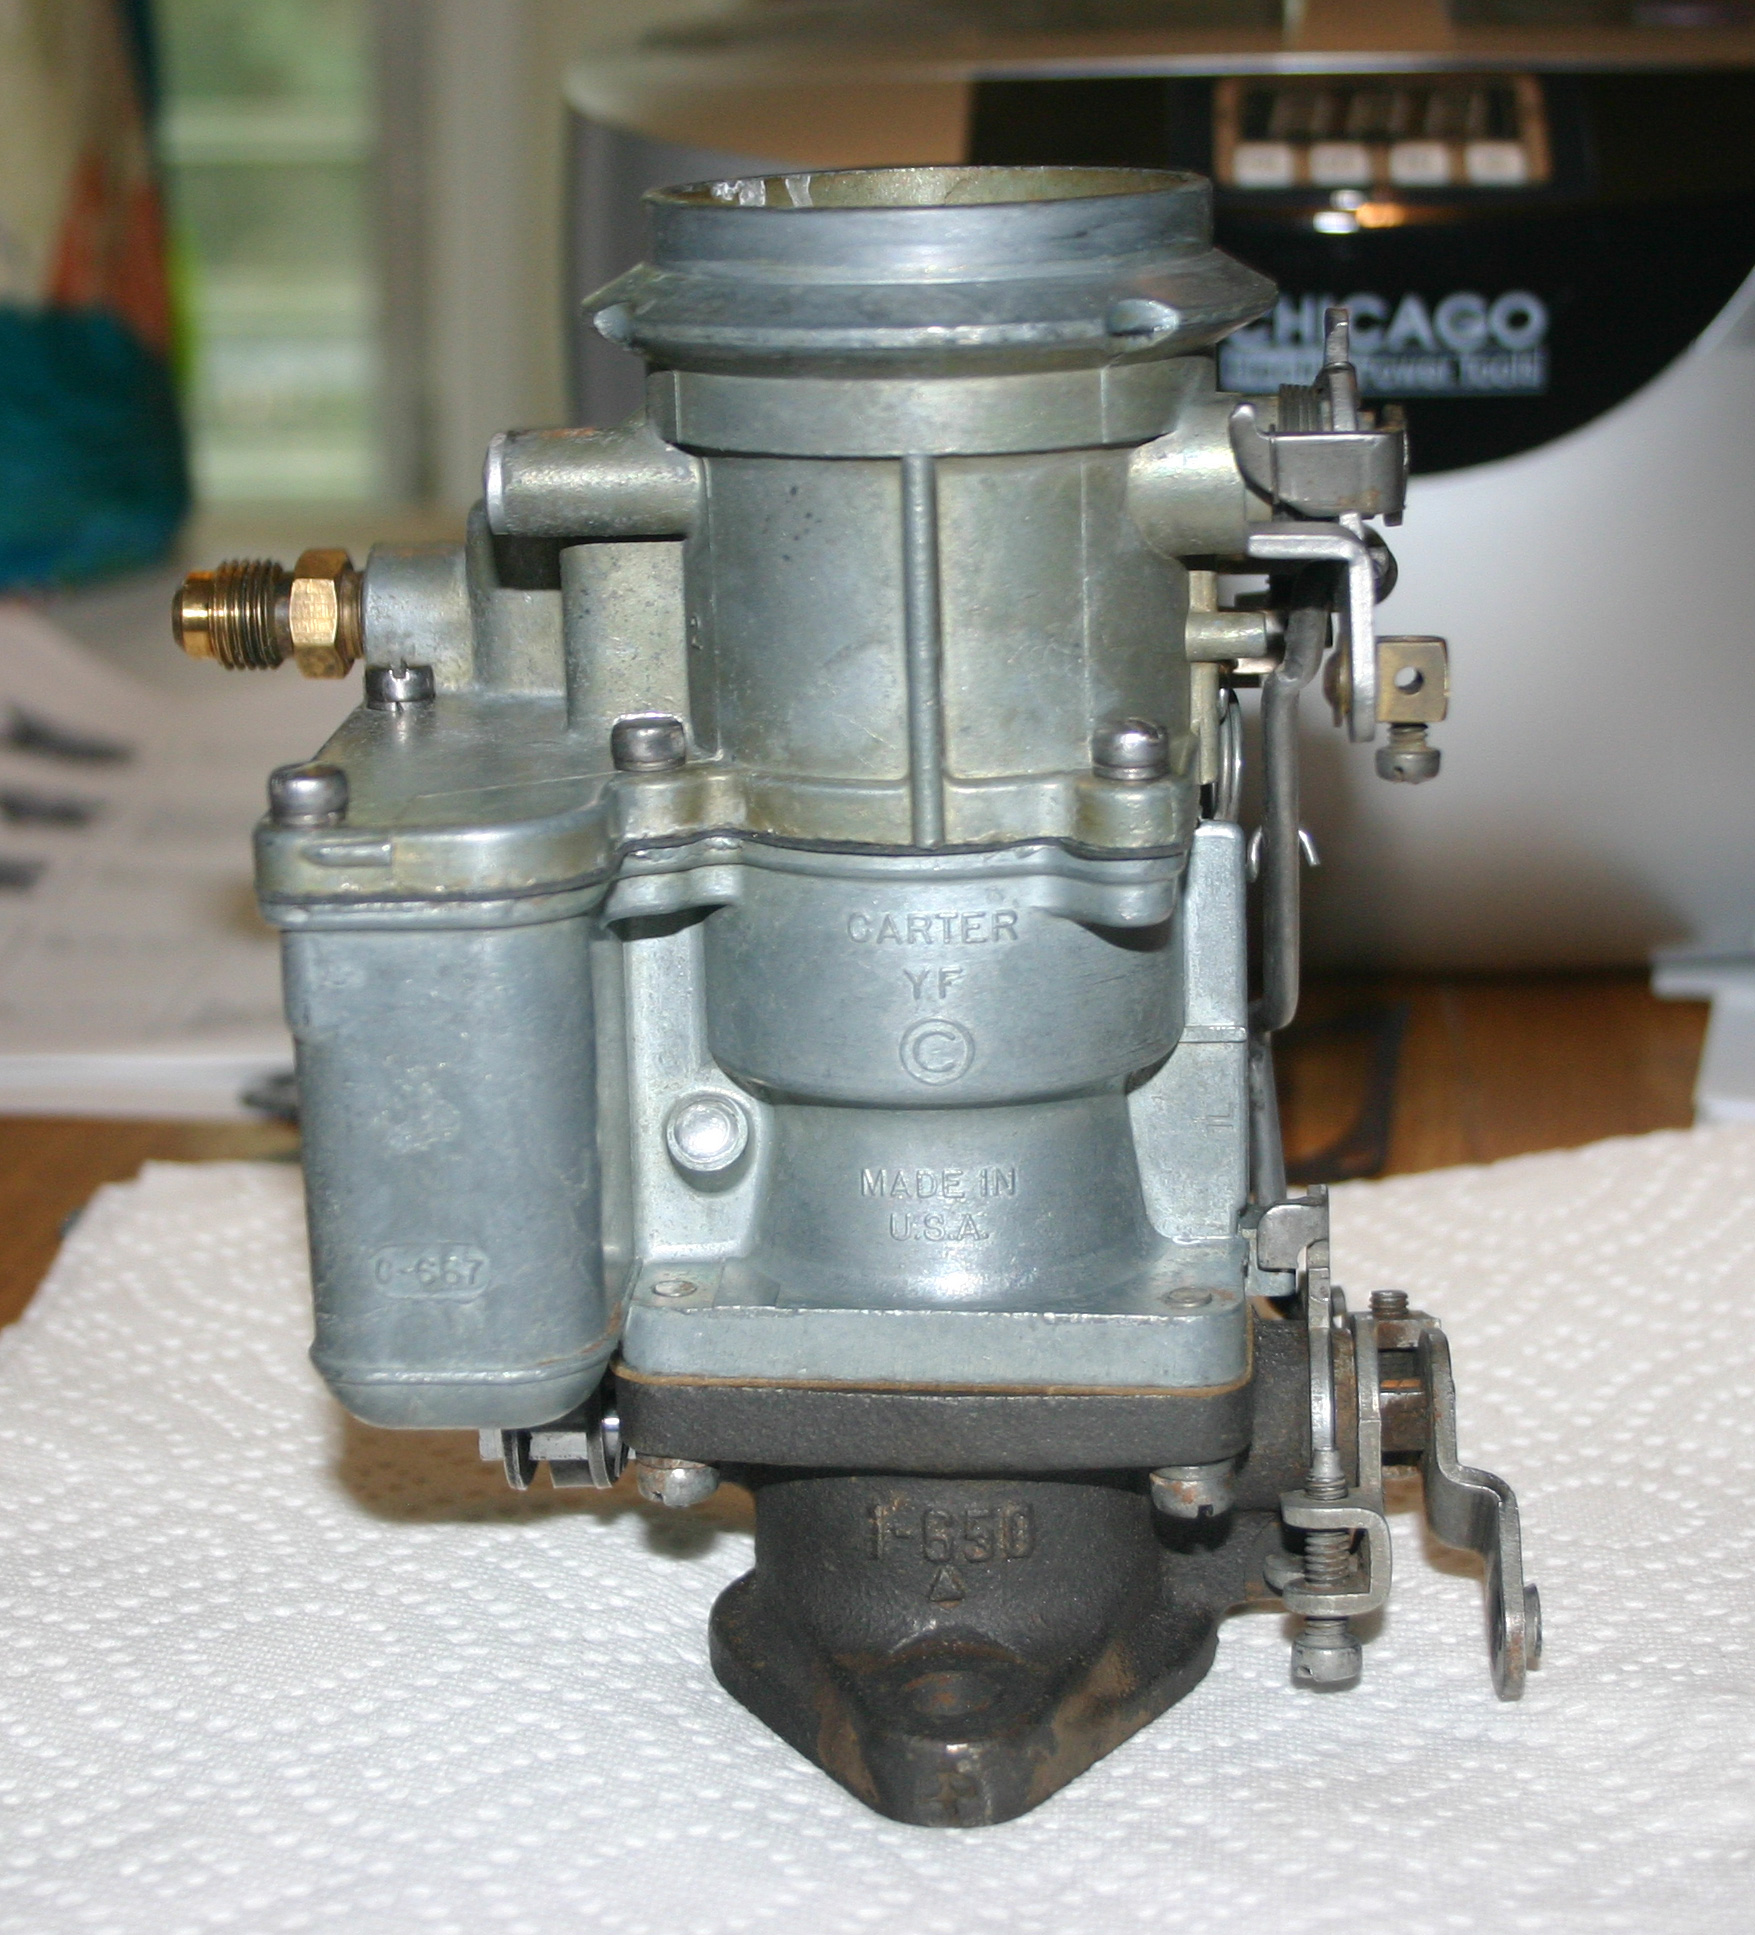
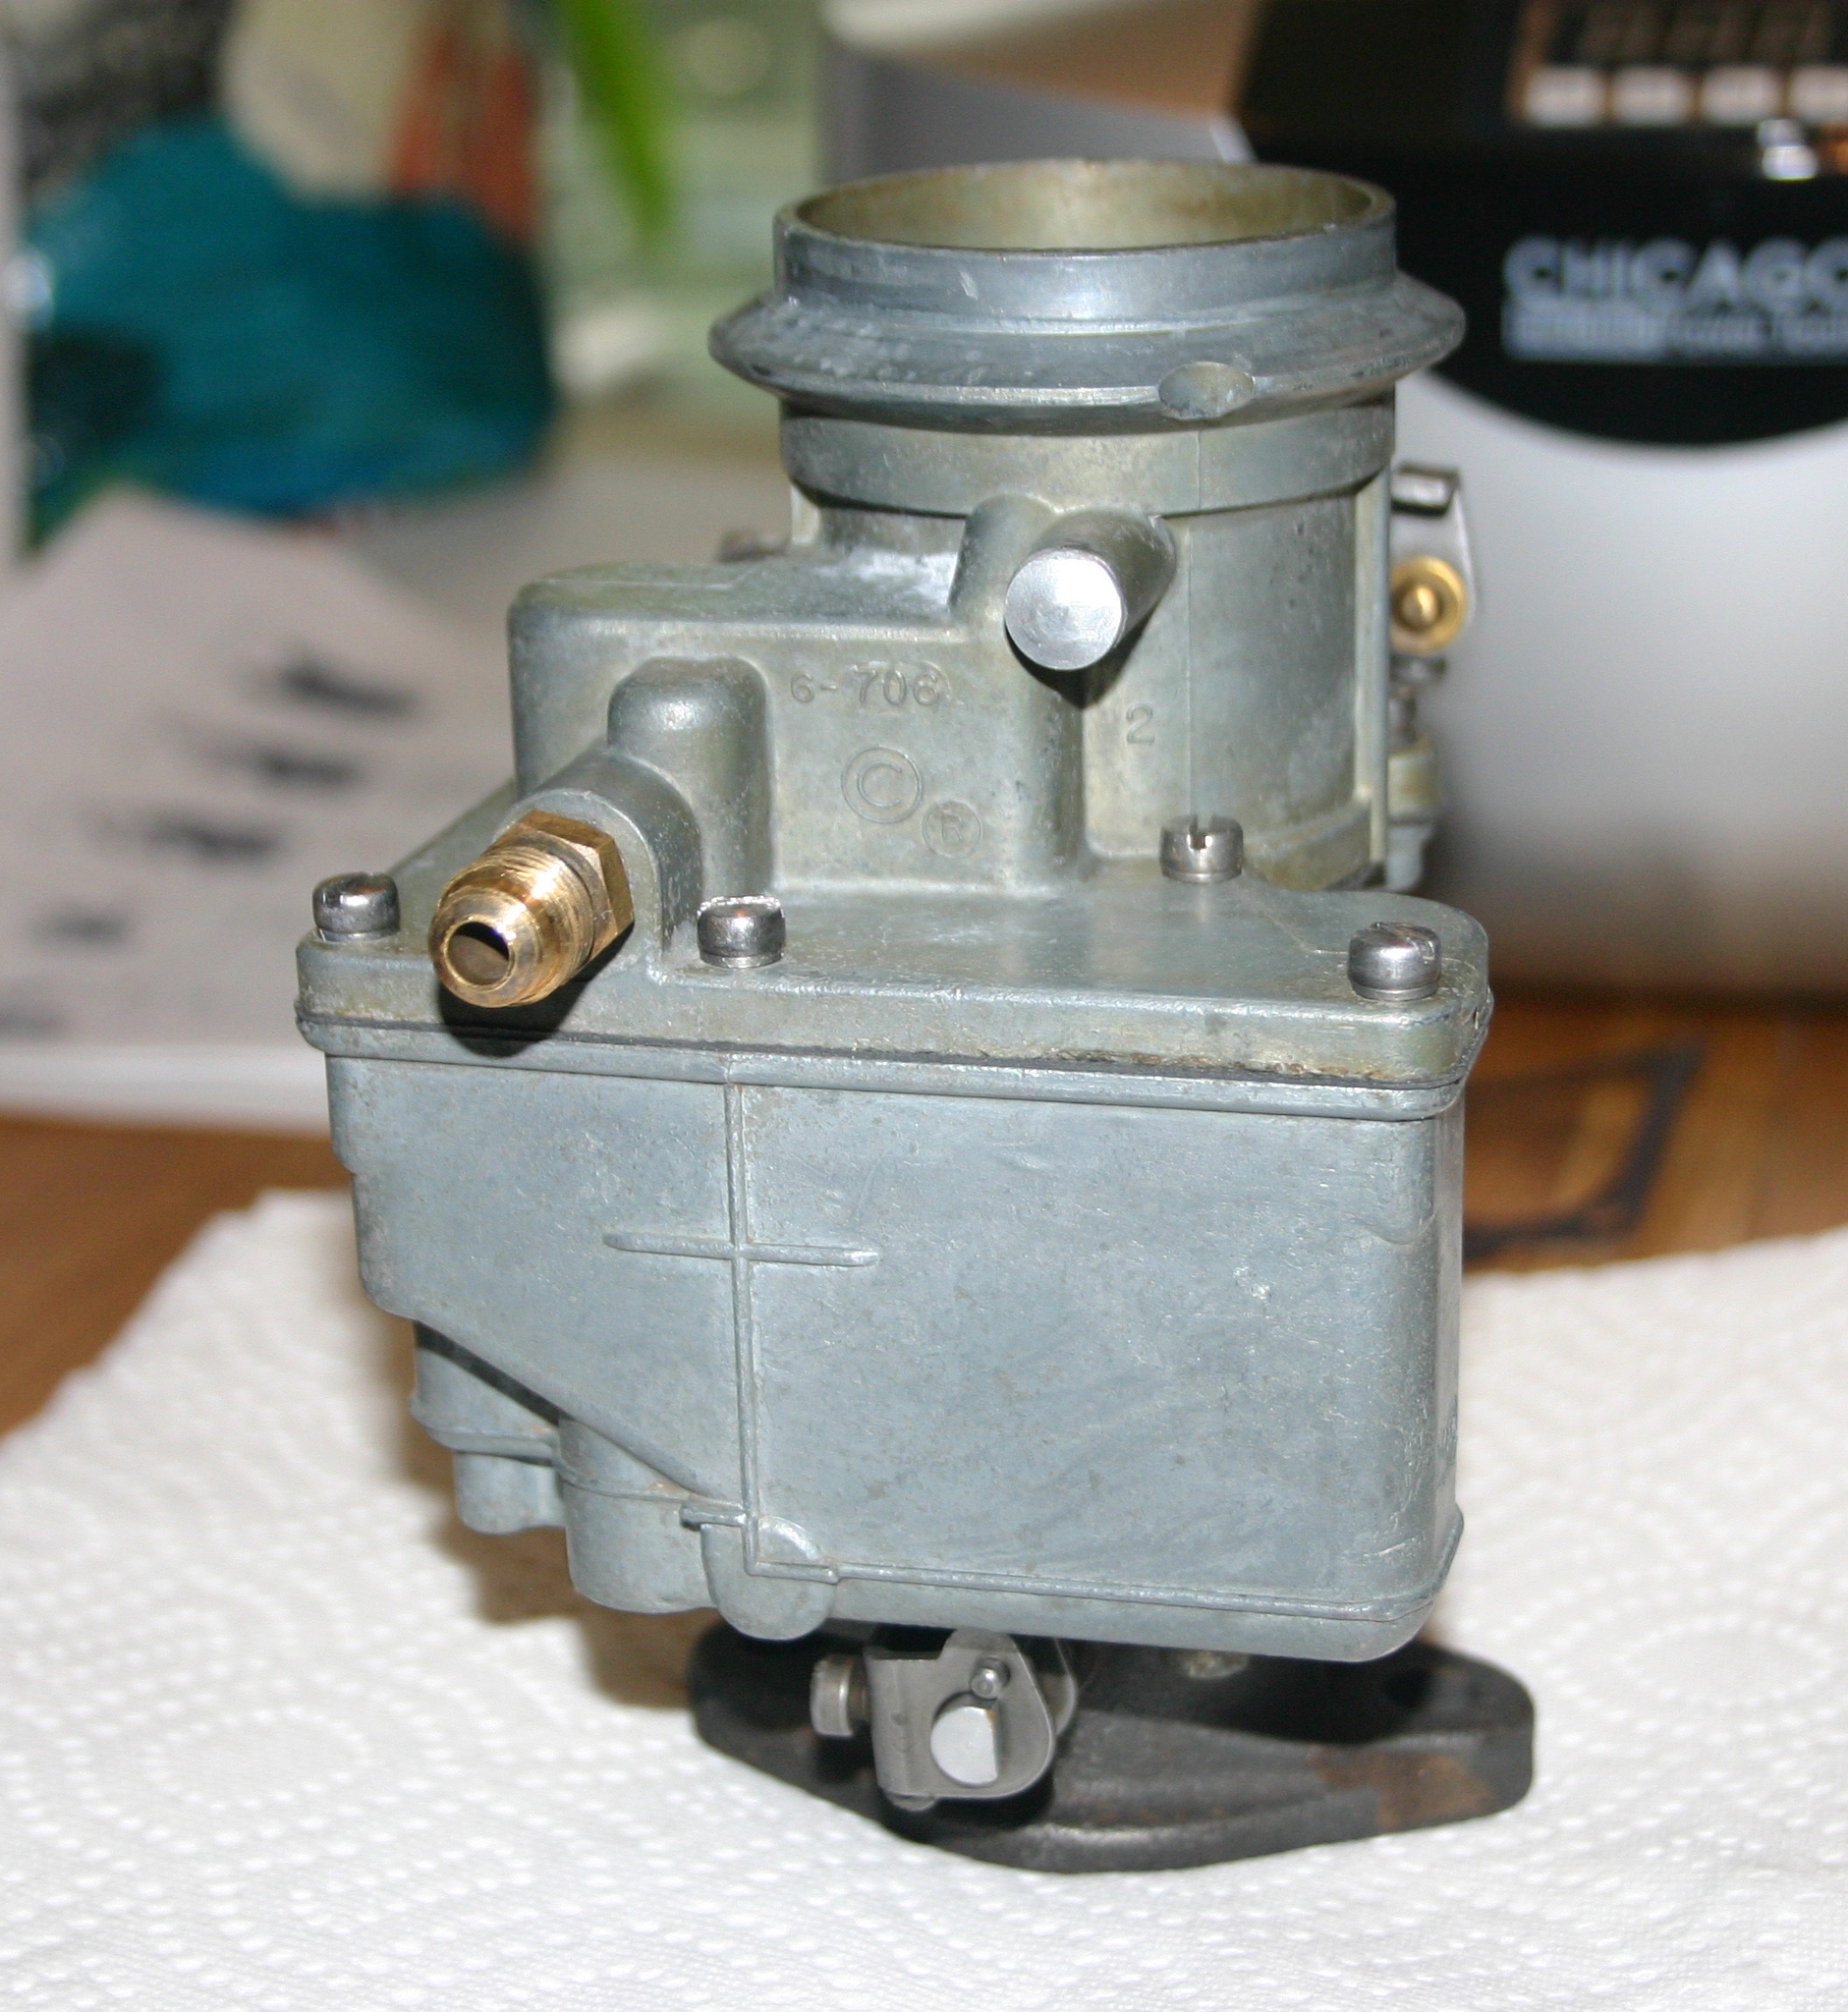
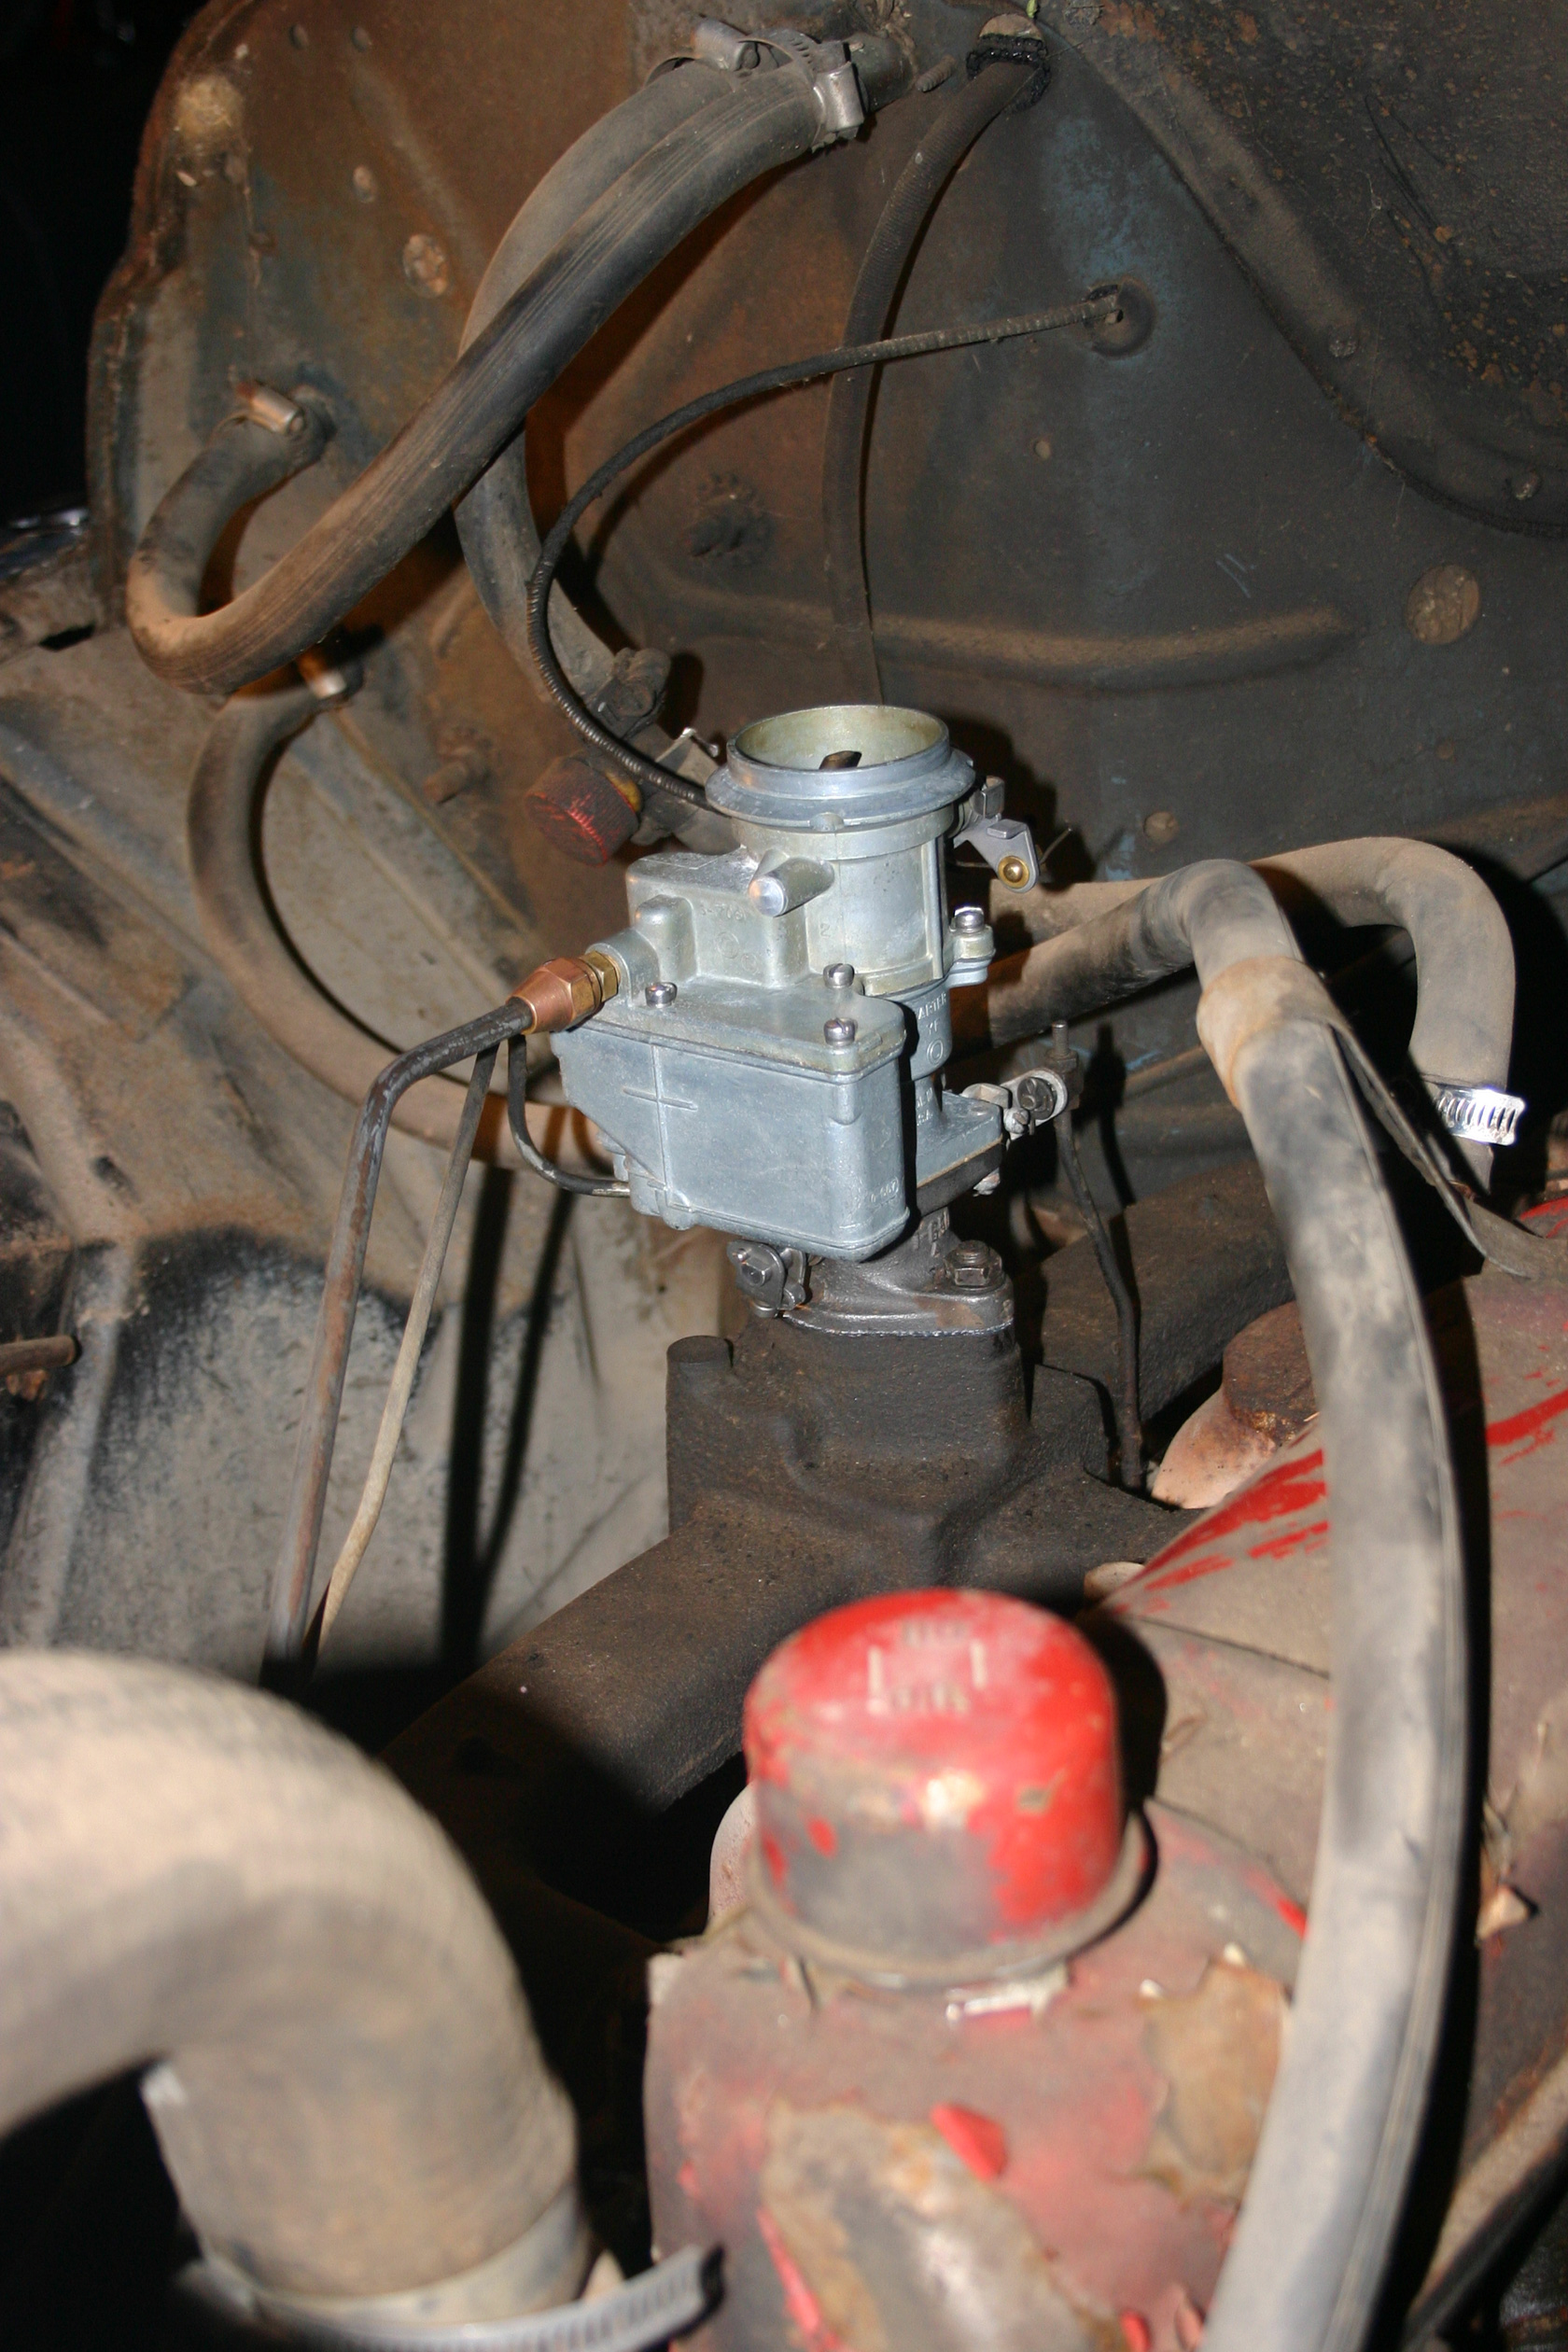
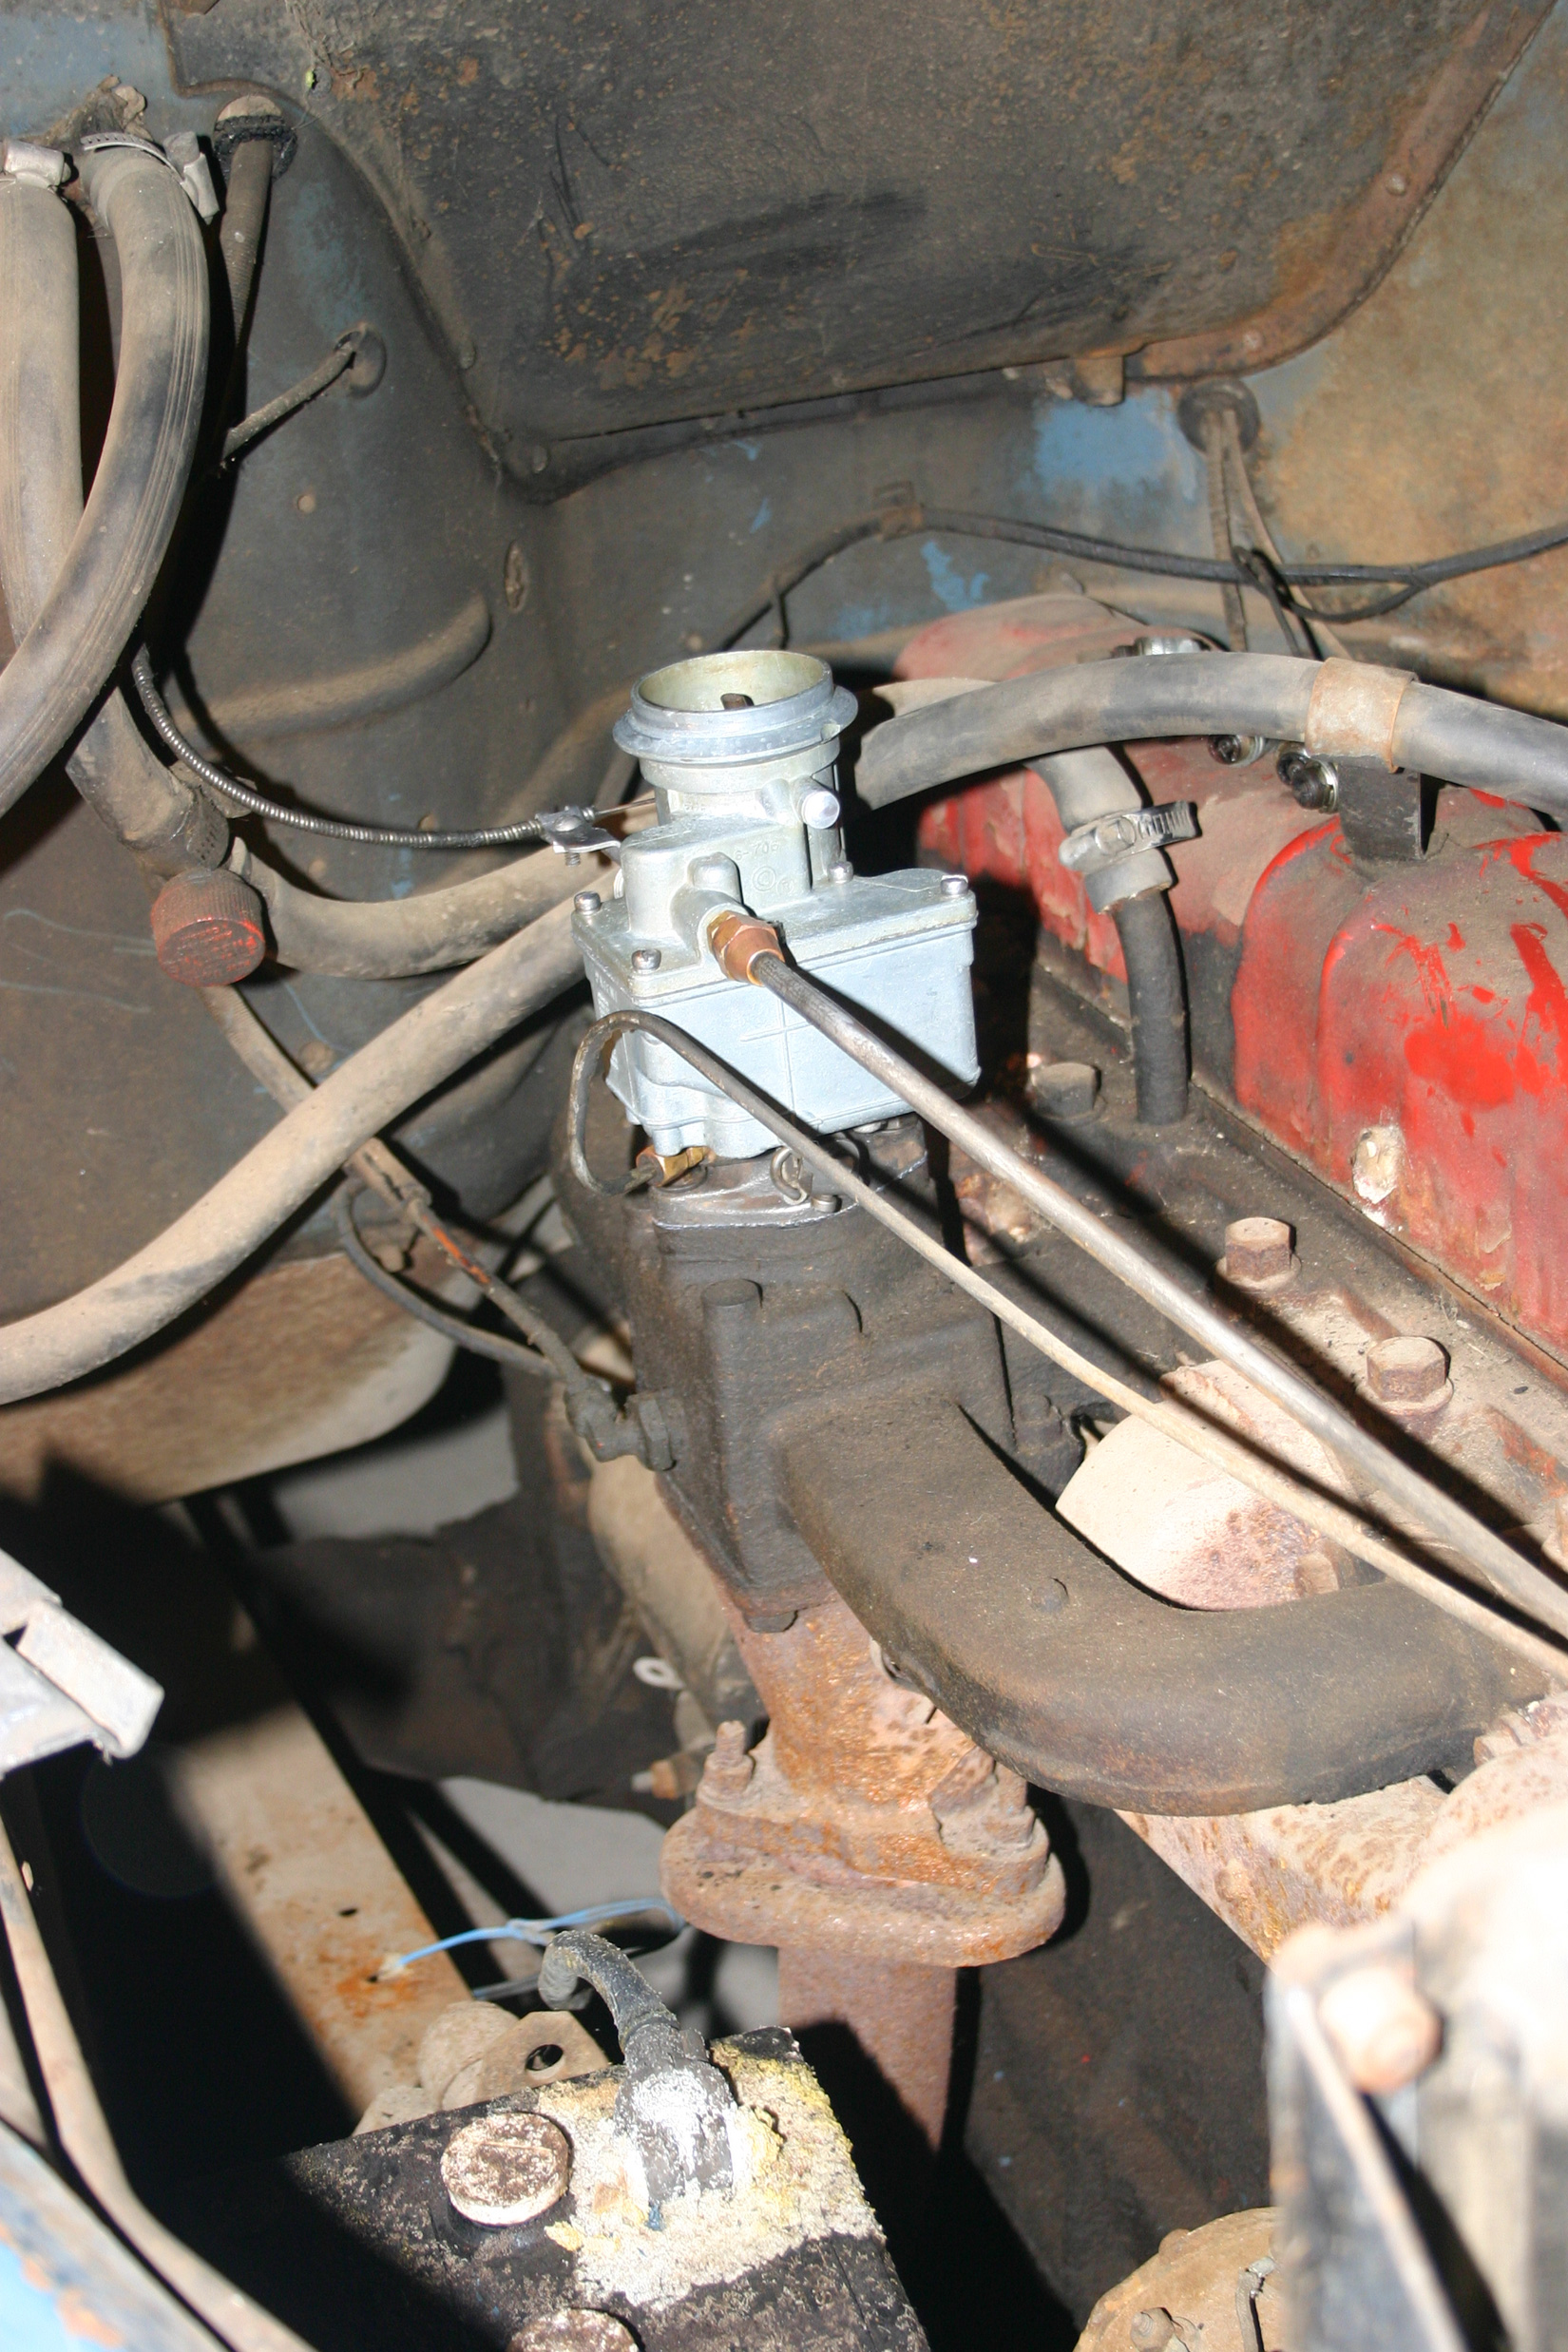
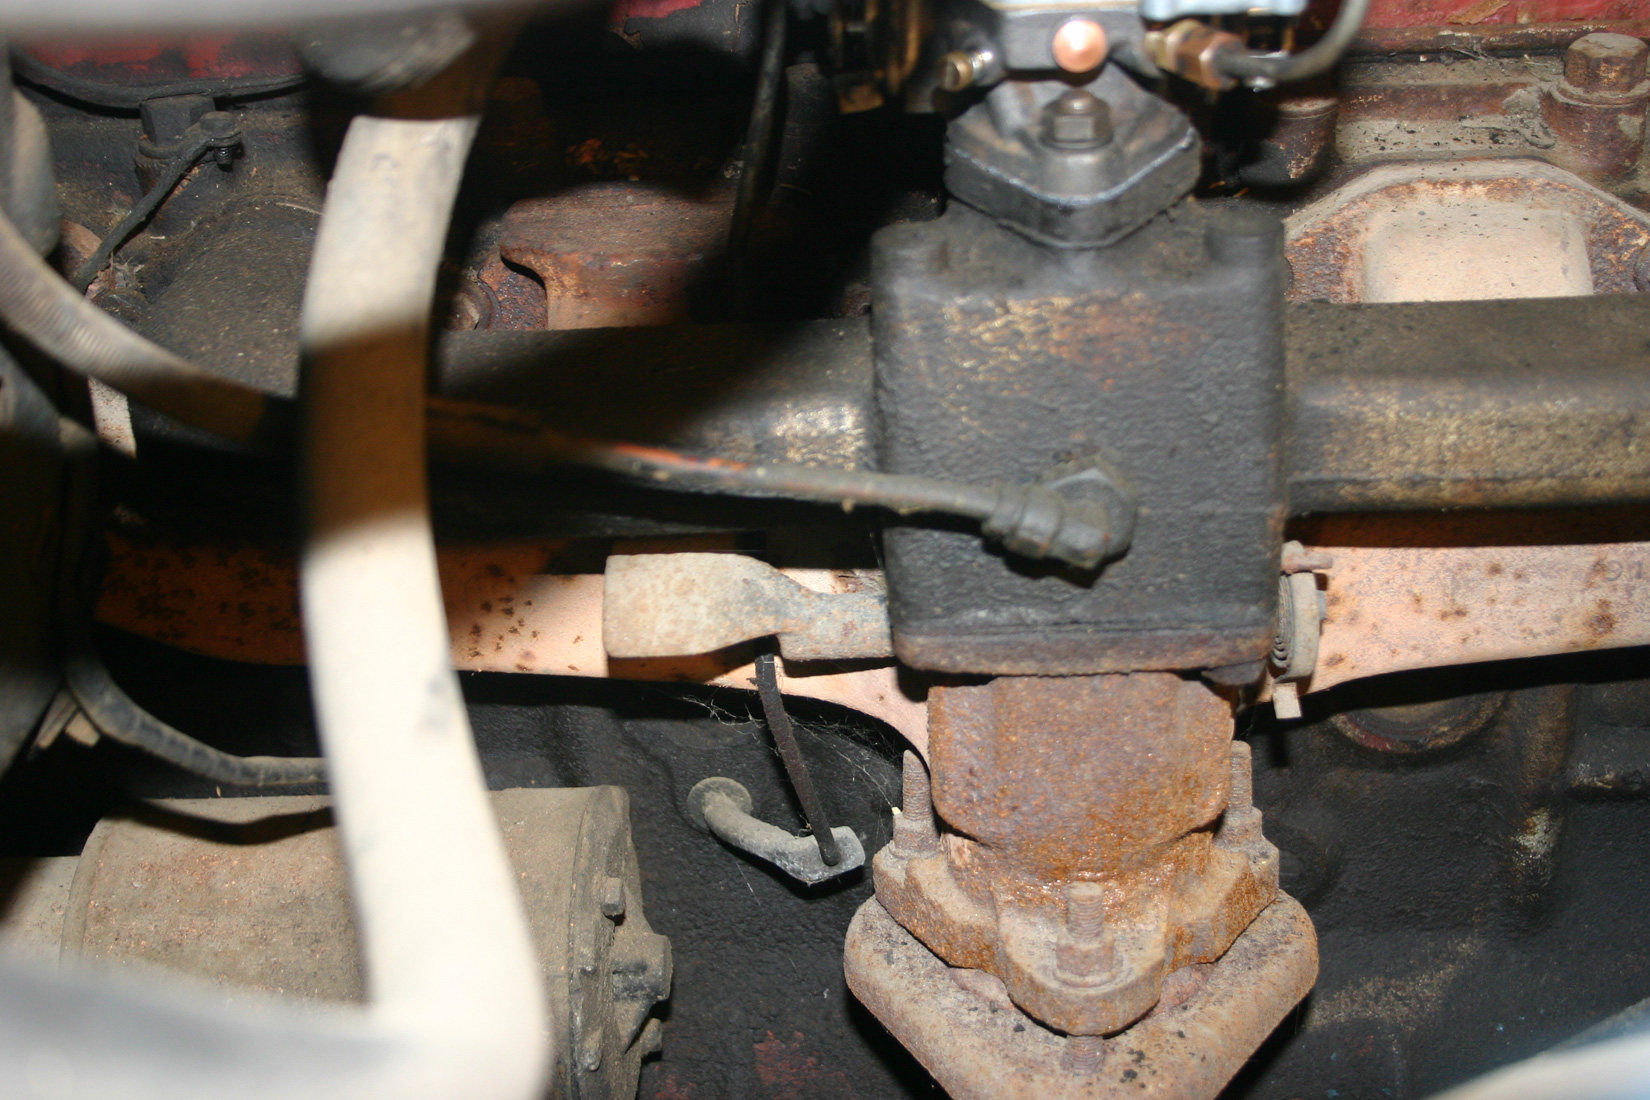
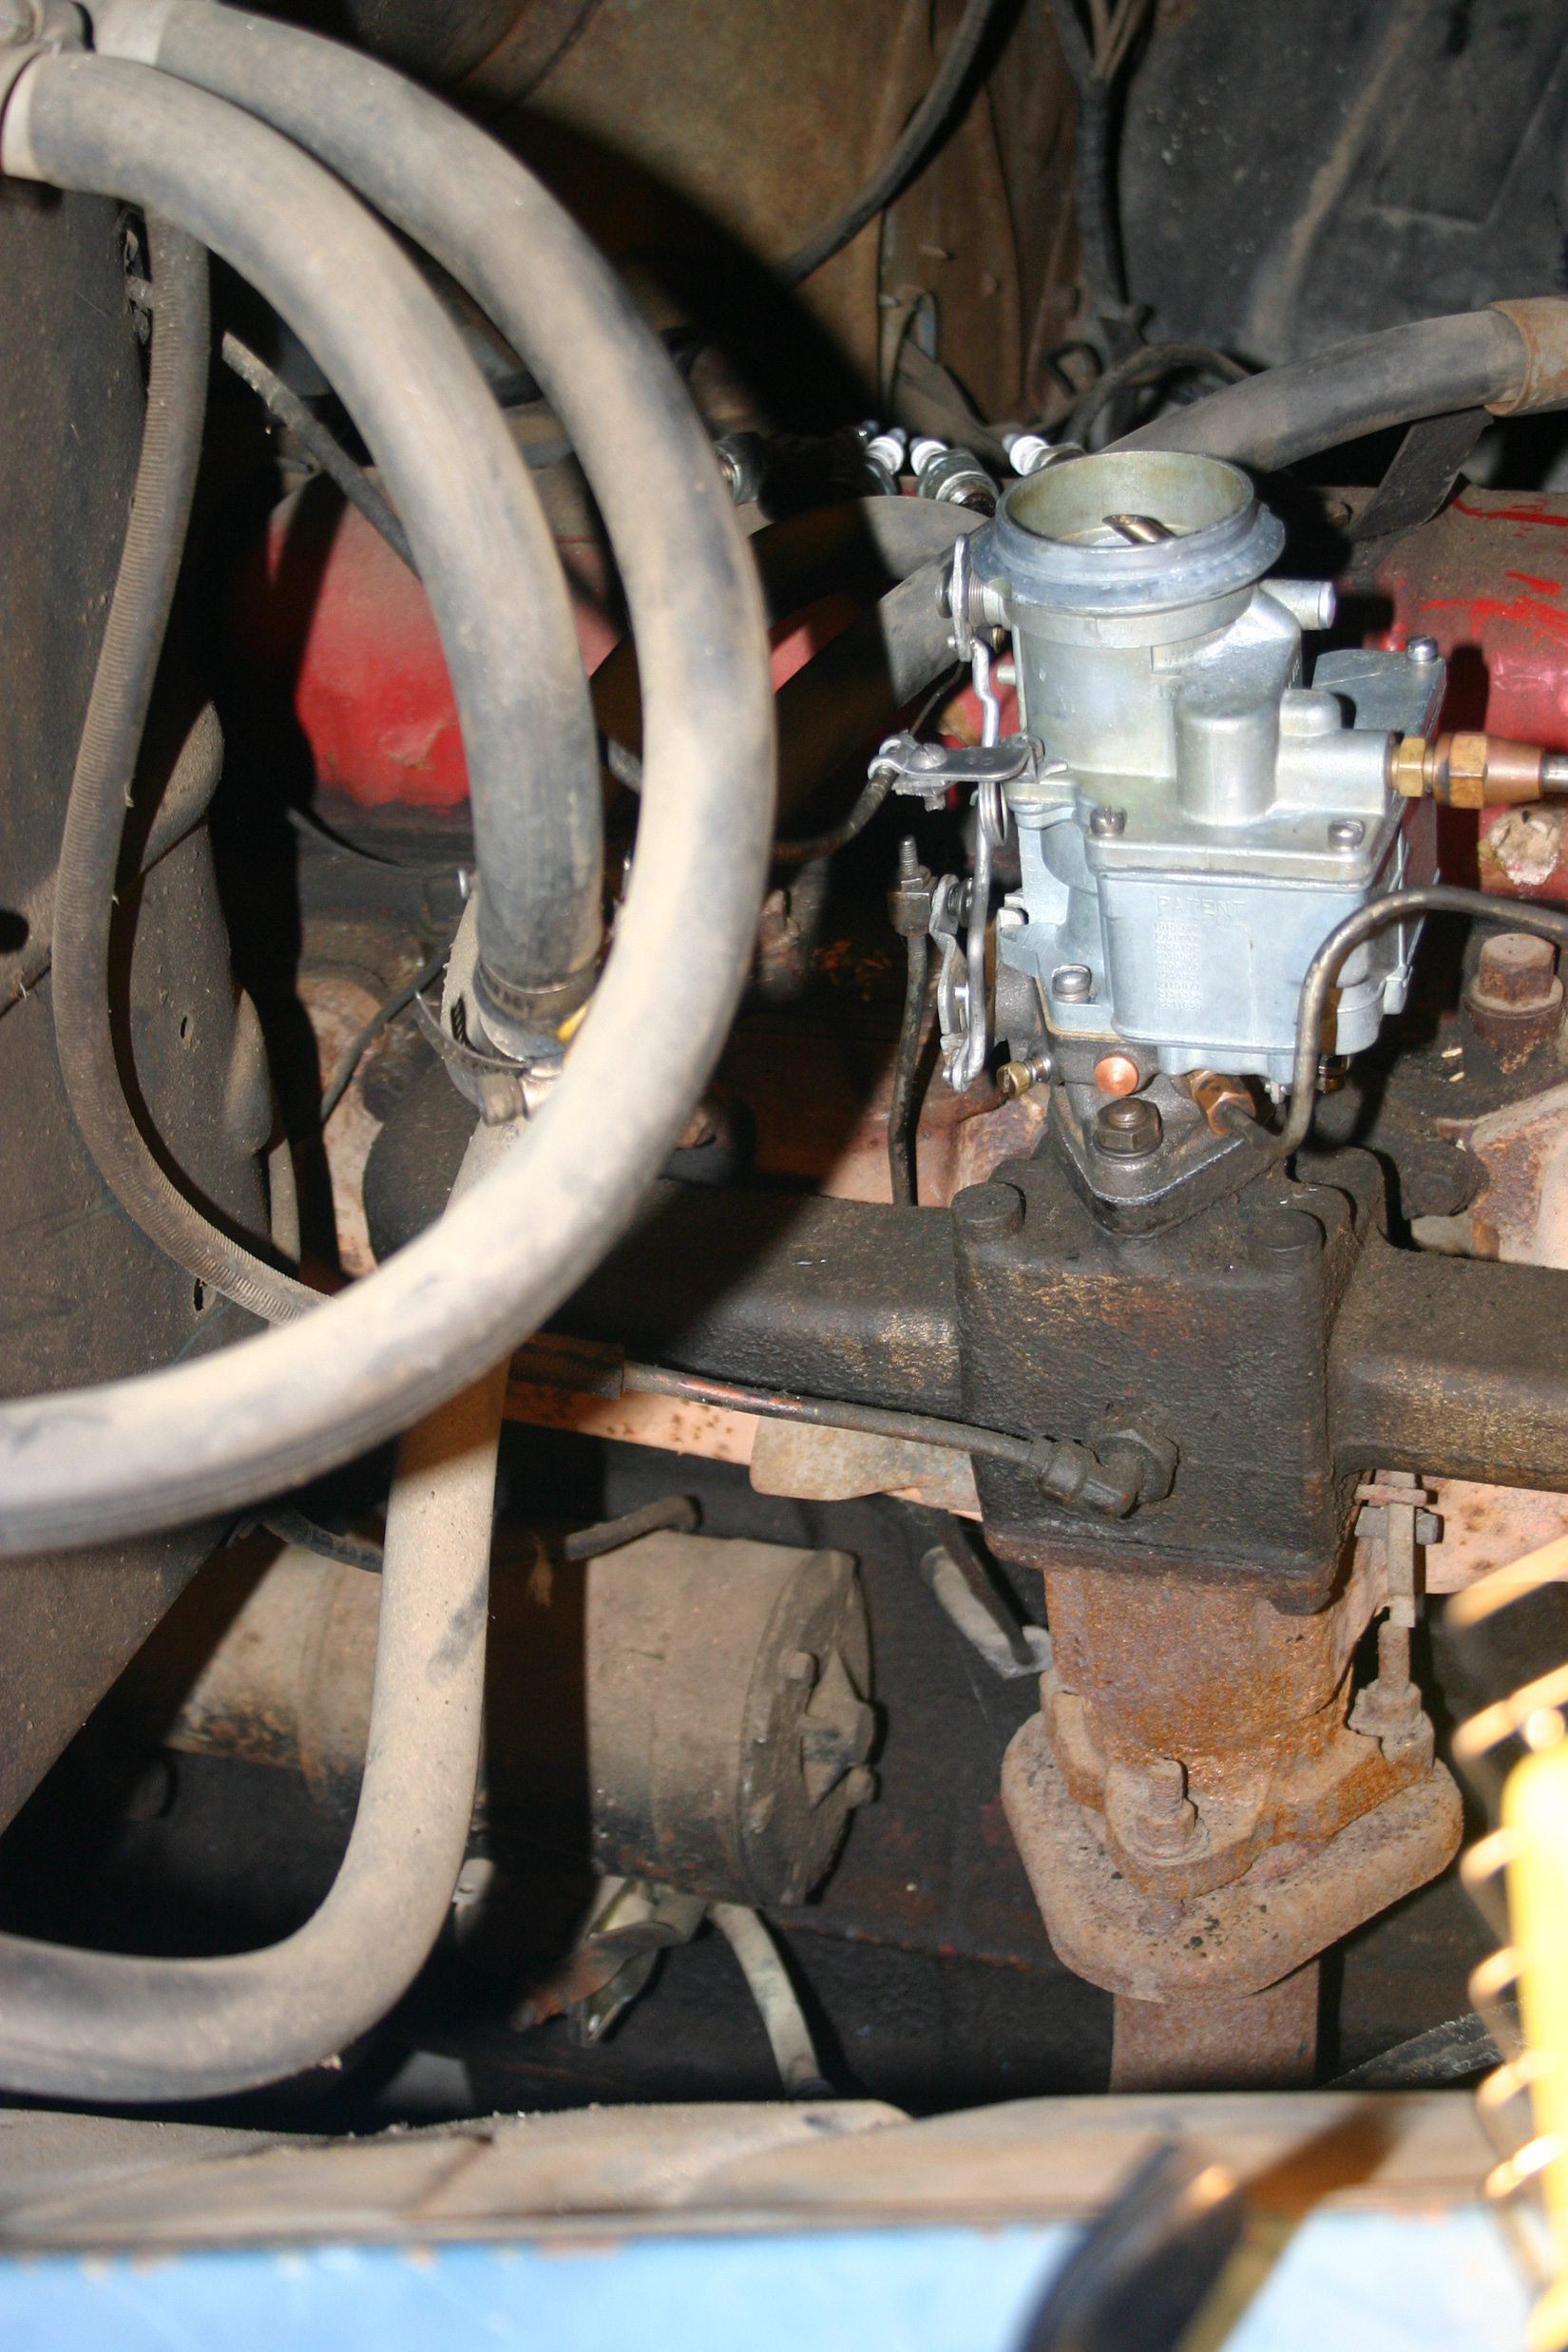
The rest of the photos are of the buttoned up carburetor, and the bottom four photos are of the installed carburetor and linkage - all complete!